Alternative Processes: How to Make Salt Prints
8 58Salt printing is one of the earliest photographic processes in history. It was invented by an Englishman named William Henry Fox Talbot in the early 1830s and was once the go-to method for printing negatives. Talbot knew that silver-chloride could be used for photographic printing but it couldn’t be coated onto paper. In a stroke of genius, he first applied ordinary salt-water and in a second step sensitized the paper with silver-nitrate. The two chemicals combine to form silver-chloride in the paper. Voilà: photographic paper made at home!

Materials
Most alternative prints are processed in large format, but If you don’t have a large format camera, don’t worry. You can just use a paper negative or even better, print your digital negatives onto overhead projector transparencies. Here f you will need to make salt prints.
- water (both tap water and a bit of demineralized or distilled water)
- table salt
- acid free fine-art paper that can stand being immersed in water for half an hour
- silver nitrate (ask a pharmacist or order online – it’s expensive but you’ll only need 10 g which will last for a long time)
- sodium-thiosulfate as a fixer (buy from online photo-supply stores)
- some citric acid (available at big supermarkets as a descaler for coffee-makers)
- a printable large-format negative
- a picture frame
How to Make Salt Prints
Step 1: Mix a 2 percent salt solution (e.g. 20 g of sea salt for 1 liter of water) and fill it into a shallow tray. Float a sheet of paper on the surface like this:
Step 2: When the edges of the paper curl upwards, grab one corner and slowly peel the paper away from the water’s surface. Hang or lay flat to let completely dry.
Step 3: Mix a solution of 10 g of silver nitrate in 42 ml of demineralized water and another one of 5g of citric acid in 42 ml of demineralized water. Combine the two solutions and store them in a glass bottle. Careful, the solution needs to be kept in the dark or in very low light and also it stains about everything it gets in touch with! In the dim light, evenly brush the salted side of your paper with the silver nitrate solution. Let the paper dry in the dark.
Step 4: Lay your sensitized paper in a picture frame, put the negative on top and keep it in place with the frame’s glass pane. Expose the paper in the sunlight until the light parts are dark purple or almost black.
Step 5: Bring into a dimly lit room, remove from the frame, wash in a tray with cool water until the runoff water runs clear. Fix in a sodium-thiosulfate solution (50 g to the liter) for 10 to 15 minutes. Wash again and hang to dry.
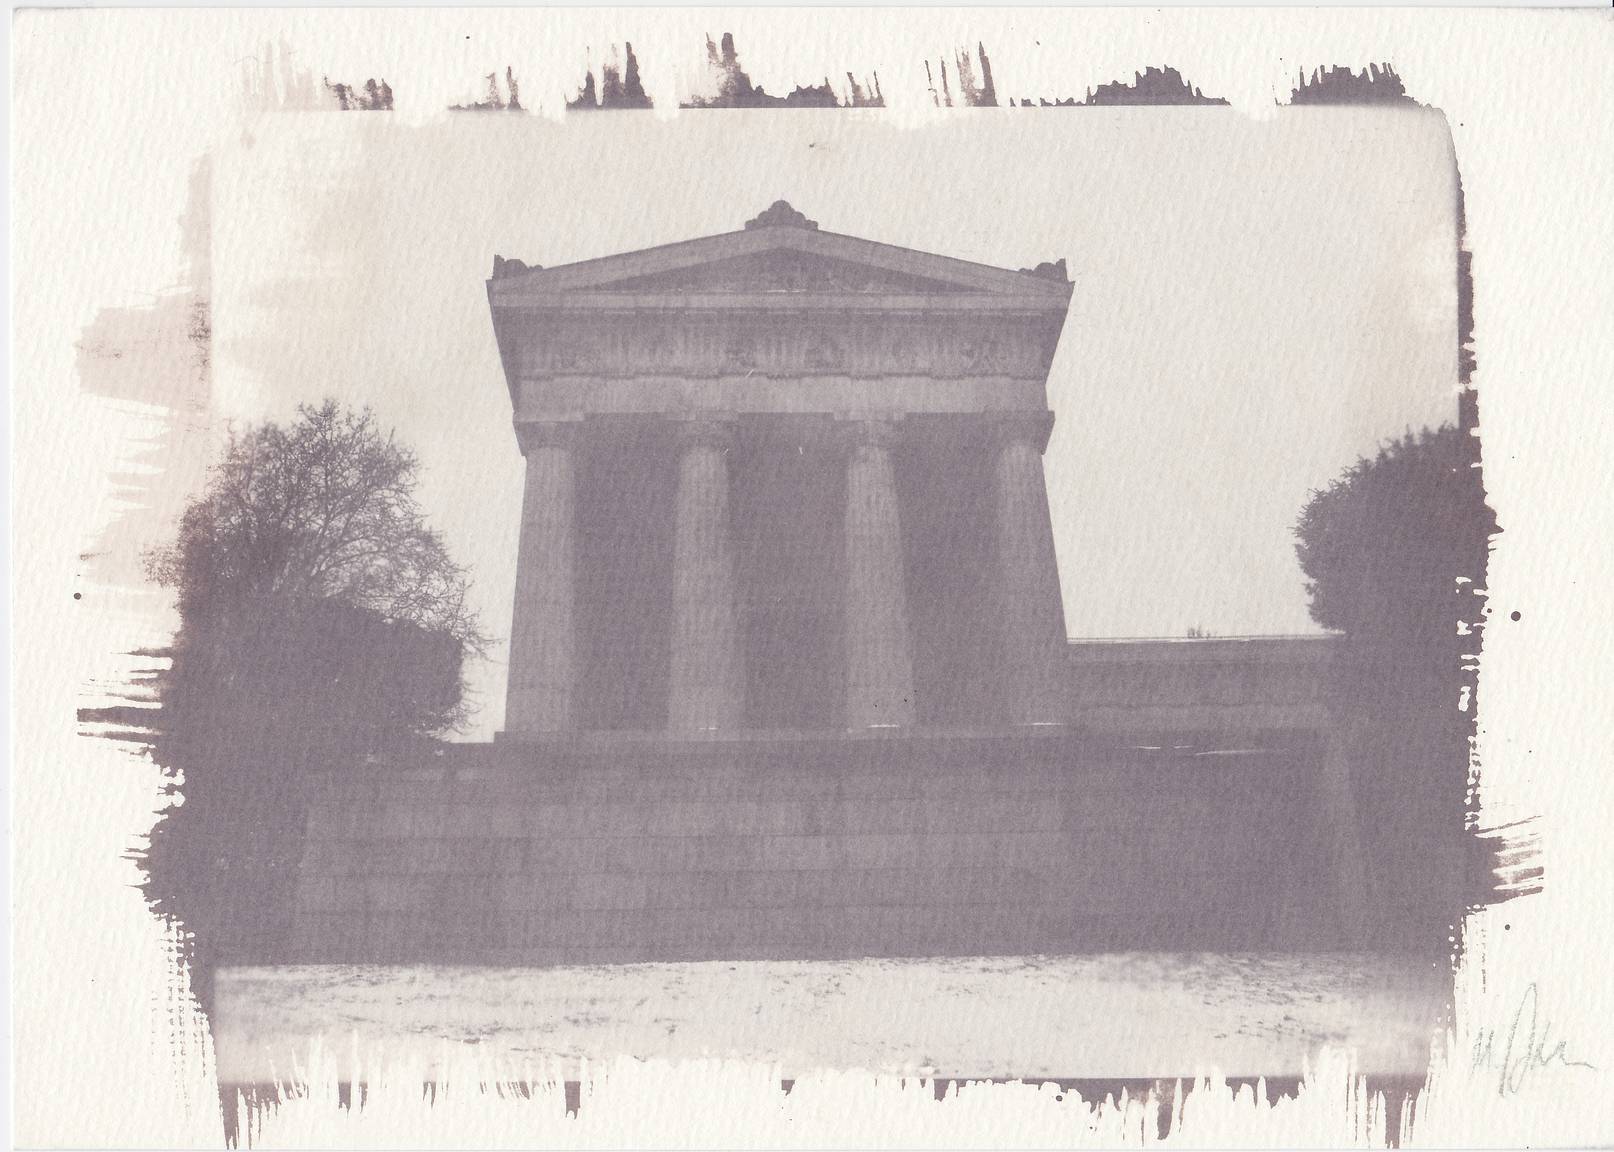
The final print will look a lot darker than the wet paper. Also, the image is really embedded “in” the paper and looks rather cool. Here are two of my salt prints:
Bonus Step: Toning
If you want to make your print permanent and lightfast, you should also tone them. Let’s try gold-toning for a more vintage effect. This solution will be ready for use right after the mixing and will tone highlights and shadows. To make your gold toner, you’ll need:
- Gold/Thiocarbamide Toner (my favorite):
- Gold Chloride (1% sol.) 12.0 ml
- Thiourea (1% sol.) 12.0 ml
- Tartaric Acid (10% sol.) 12.0 ml
- Sodium Chloride 5.0 gm
- Distilled Water to make 250.0 ml
Step 1: Add thiourea solution with 12.5 ml of gold chloride solution. Wait for the precipitate to dissolve. There should be more of the thiourea solution that the gold chloride. This will be your gold thiourea solution.
Step 2: Add tartaric acid with 150 ml of distilled water. This is your acid solution.
Step 3: Add the gold thiourea solution with the acid solution and mix thoroughly.
Step 4: Add salt and rinse the solution off with 250 ml of distilled water. Stir thoroughly.
Here are some salt prints from Lomographers in the community for you take inspiration from:
There are other alternative printing techniques you should try:
- Cameraless Photography: How to Create Chemigrams
- Let the Sun Do the Work with Chlorophyll Prints
- Darkroom Fun with Photograms
This tipster has been revised to provide more informative steps about salt printing. Don’t forget to curate your experiments by uploading them to your LomoHome.
written by analogue_rogue on 2013-05-08 #gear #tutorials #art #history #tutorial #tipster #alternative-process #handicraft #select-type-of-tipster #select-what-this-tipster-is-about #historical-process #salt-print #salt-printing


8 Comments