Some Tips on Going Redscale
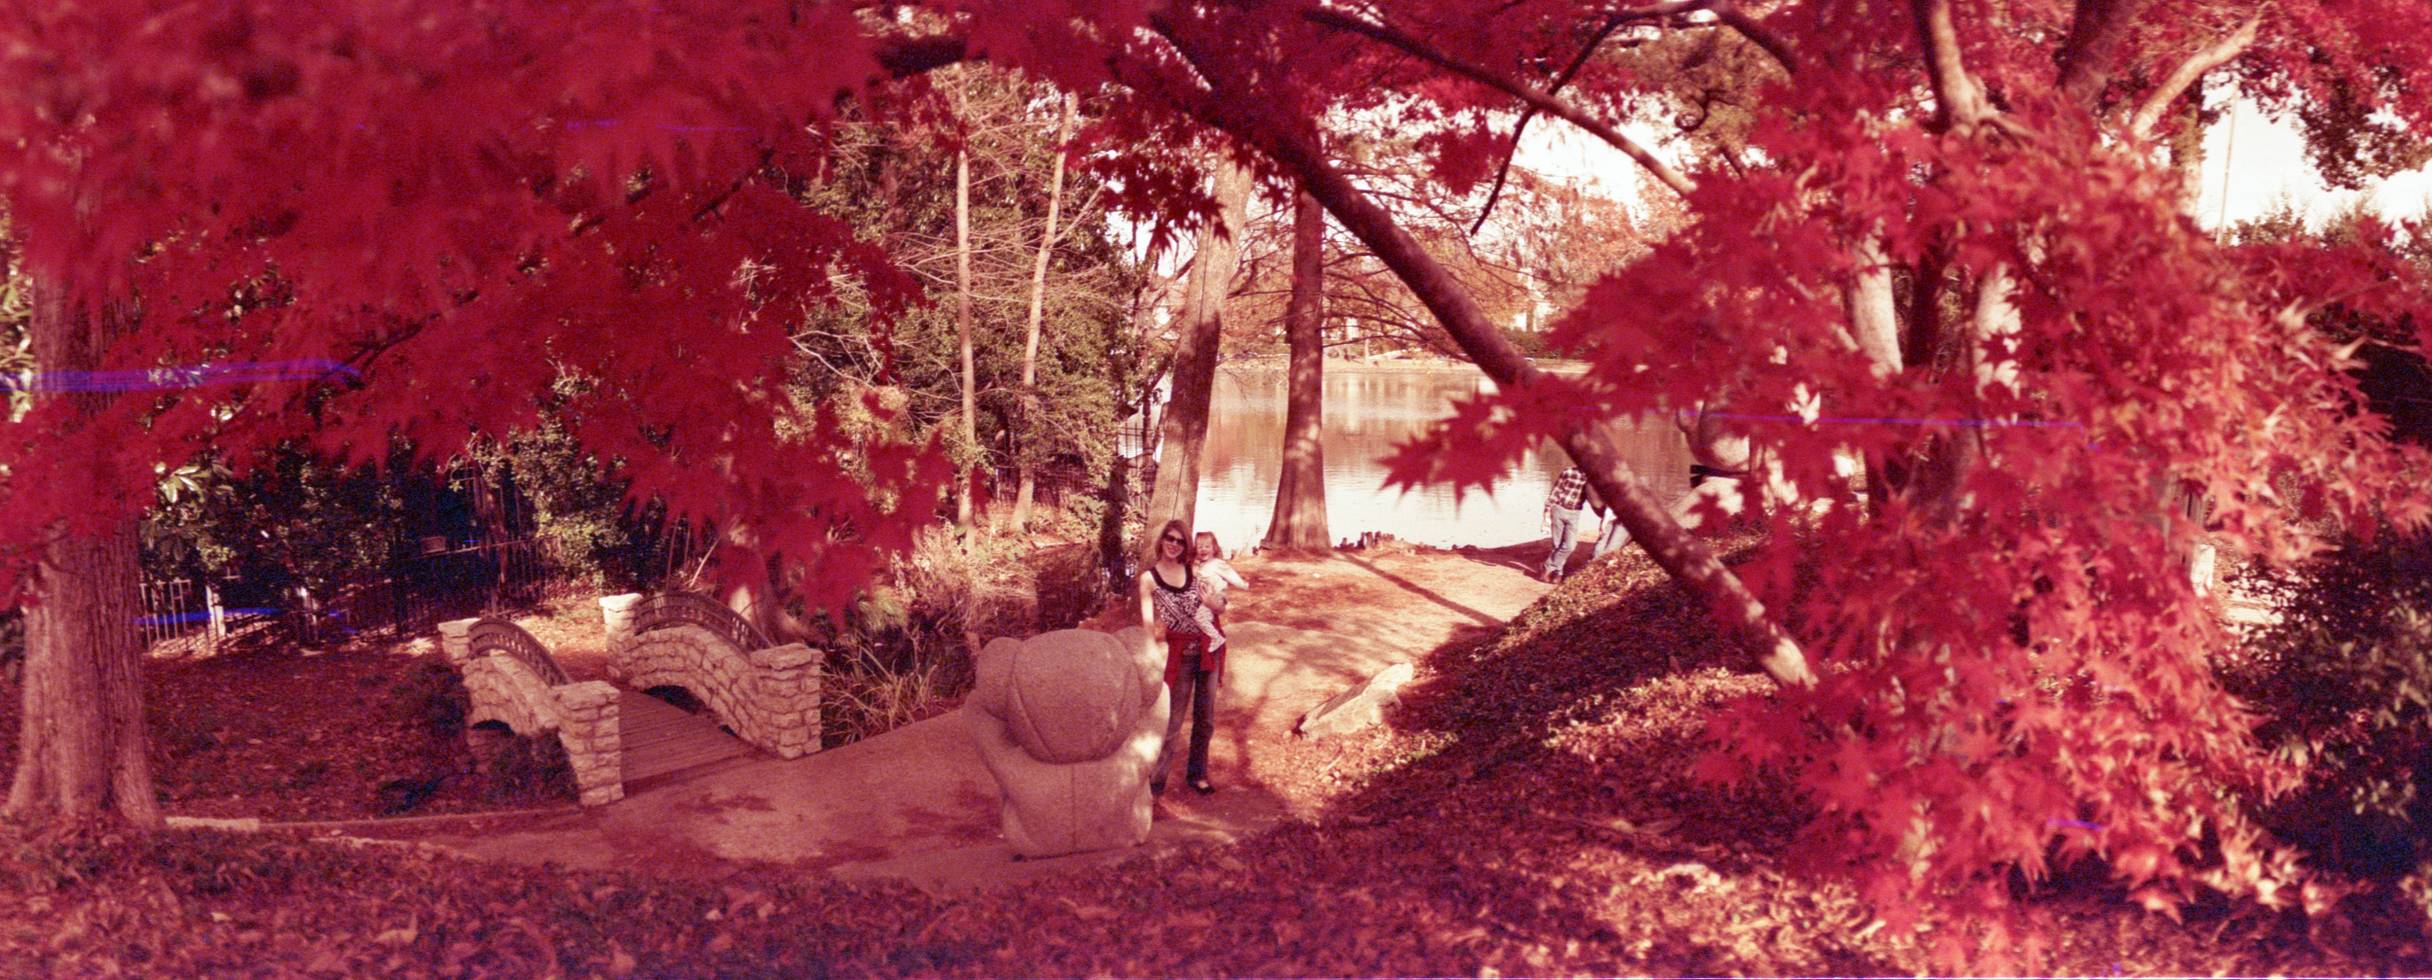
18 84If you love a limited color palette and shades of red, you've likely already discovered redscale film. Despite a simple concept, the range of achievable results with this inexpensive film is huge. Read on for a few simple tips!
Limiting the tones in your photos is a great way to shift the focus. It's one of the best things about shooting black and white. However, redscale film is a delicious alternative to old fashioned monochrome -- you get all the advantage of a limited palette but you also get that added pop of color. Combine this with a flexible and easily controlled way to adjust color tones + cheap price, and it's no wonder that Lomo and redscale go so well together.
Tip #1: Mind the Exposure
Increased exposure = decreased intensity. Consider the exposure of your redscale film to be a "volume knob" of sorts. Want to crank up those reds? Then underexpose a little.

Would you rather tone it down? Then overexpose. A lot. Set that camera on ISO 25 or even 12.5 if you're able! This is my personal favorite way to shoot redscale. It gives everything a pale golden tone that works extremely well with warm light and skin tones. But I love having the option to crank up the effect (even within a single roll) just by altering my exposure.

Tip #2: Superimpose
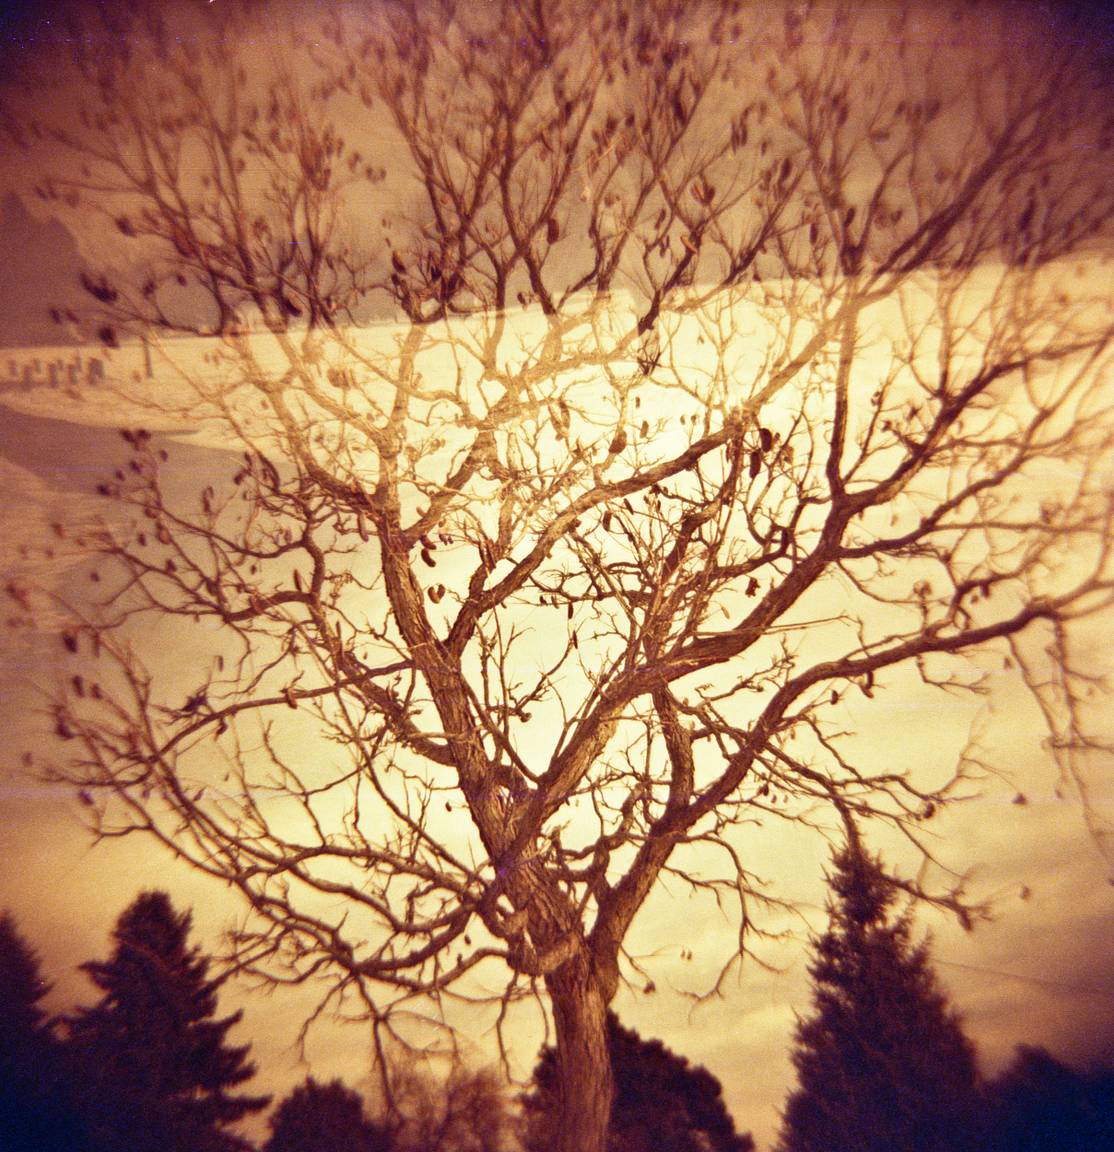
Redscale loves doubles. It seems nearly impossible to overexpose most redscale films, and because of this, there is enormous exposure latitude when shooting doubles. Try to keep each exposure in the frame at a similar ISO, however, or you may not be able to see both images as well as you would like.
Tip #3: Beware the Blues!
Beware the blue lines. As you likely have noticed on several of these photos, the blue lines have a variable presence on many redscale films. I've heard several explanations for this, but the one that I think is correct is that the back side of the film is much more fragile, and is therefore scratched easily when it's facing the front of the camera. If you consider this a "feature," then feel free to ignore this tip and embrace the random blue lines. If you don't like it, then consider padding the edges of your film mask with something like soft tape to avoid some of the scratches.

That's all! Nothing new to you many Lomo redscale experts out there, but if you're just starting to play with this fun film, then I hope this helps you off to a good start. Cheers!
This tipster was written by Community member russheath. In need of a redscale film? Check out our Online Shop or visit the Gallery Store and check out our wide selection of emulsions for you to experiment with.
written by russheath on 2012-02-24 #gear #tutorials #film #redscale #tipster #lomo #lomography #overexpose #xr #redscale-xr #lattitude


18 Comments