Make Your Own Photo Coasters
5 46 Share TweetShow off your photos, or give them as a gift, with your own DIY photo coasters!

This holiday season, I wanted to give my friends something unique and photo-related, but wasn’t sure of the best way. That was until I saw this article on ceramic Polaroid coasters and remembered . With that, I took the original articles suggestion of Mod Podge and got to crafting. It was a super simple craft to do on a nice afternoon.

What you need:
- Square prints of your photos at 3×3 inch size. (Many online print sites, like shutterfly, allow you to print your photo as a square photo at 3×3 you just need to “edit print preview/size”)
- 4×4 inch tiles of ceramic, wood, thick plastic or similar material. (I picked mine up for free from a local hardware store. Ask for ceramic, flooring, or wood samples)
- Mod Podge (I used matte, but gloss would also work)
- Sponge applicator or brush
- Foam, cork, or felt for the bottom of your coasters. Cut into 4 small 1/2 in circles or squares for each coaster. (Or pick up the self adhesive kind)
- Optional: Newspaper, or something to ensure you aren’t making a mess (I’m a messy worker)
Once you’ve got your materials, you’re ready to get started.
Directions:
1. Choose your photos. Make sure your photos are cut into squares. I made 5 sets with 4 coasters in each set – 20 total coasters.


2. Paint a thin even layer of Mod Podge on the back of the square photo and press down on the center of your tile. Allow each 5 – 10 minutes to dry.

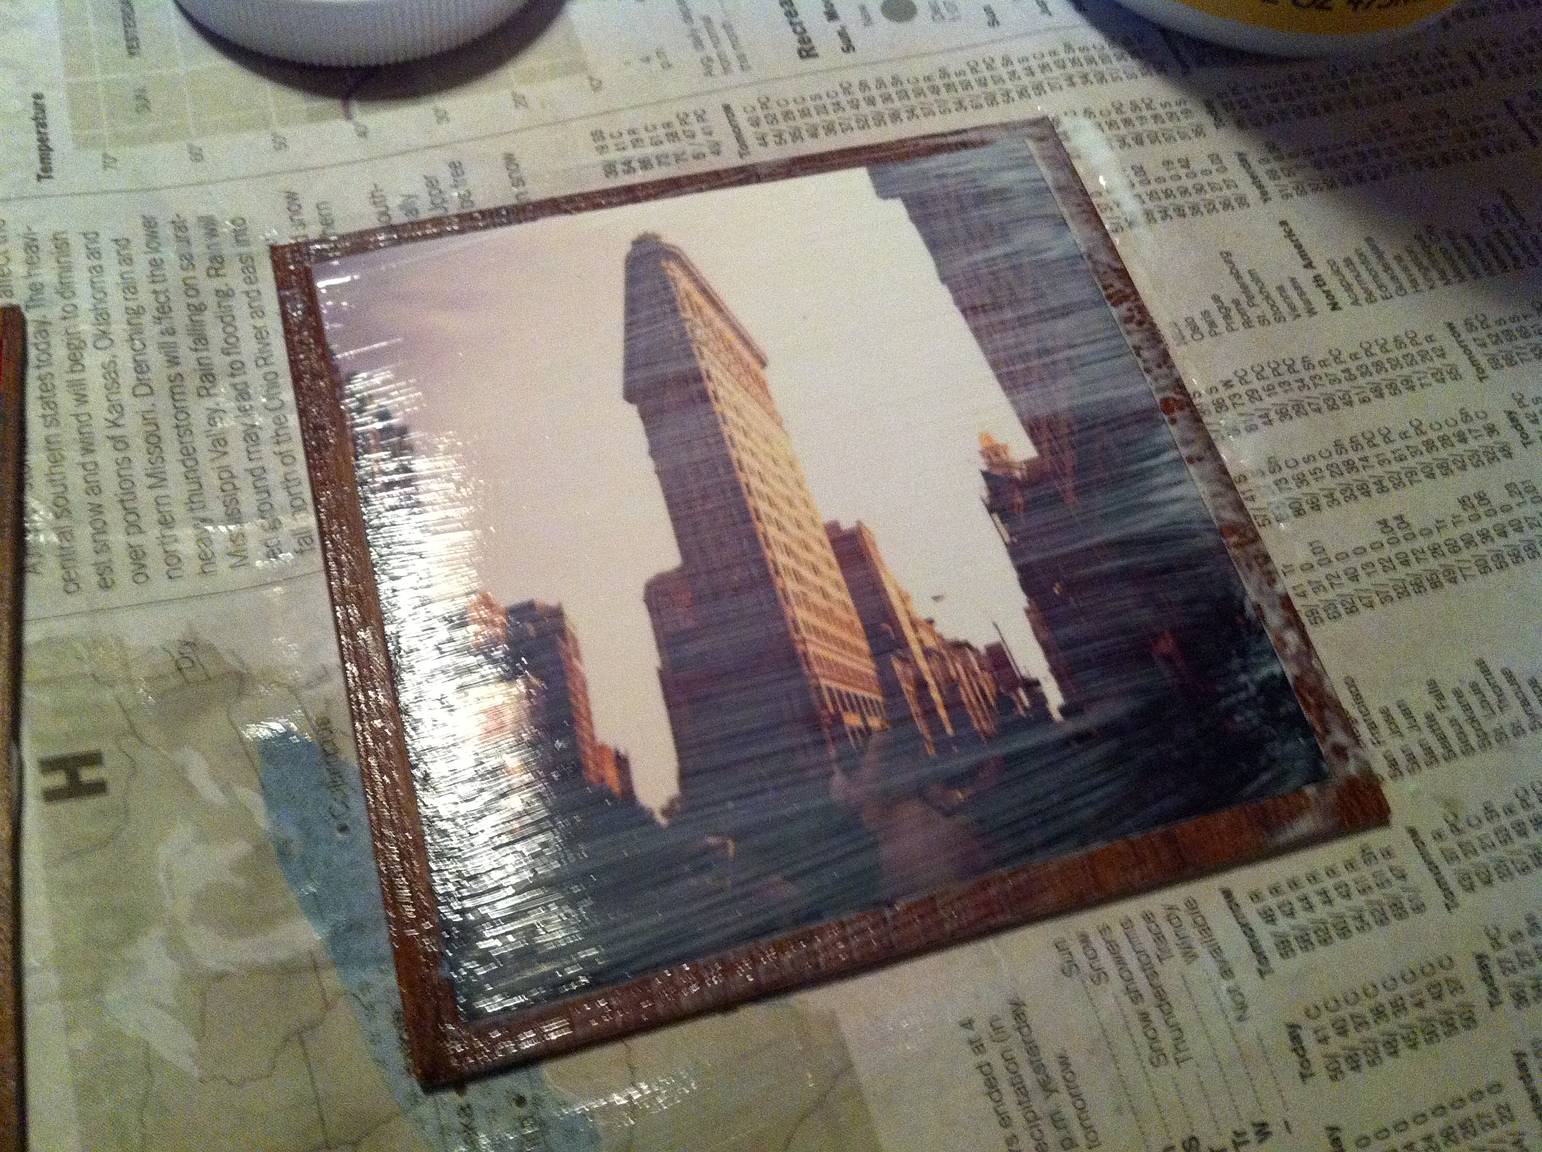


3. Paint a thin even layer of Mod Podge over the entire coaster, including photo. It coasts on white, but dries clear. Let it dry for 20-30 minutes.
4. Repeat for 2 more layers (a total of 3 Mod Podge layers over the entire coaster). Make sure the layers are even, thin, and dry before adding each next layer.

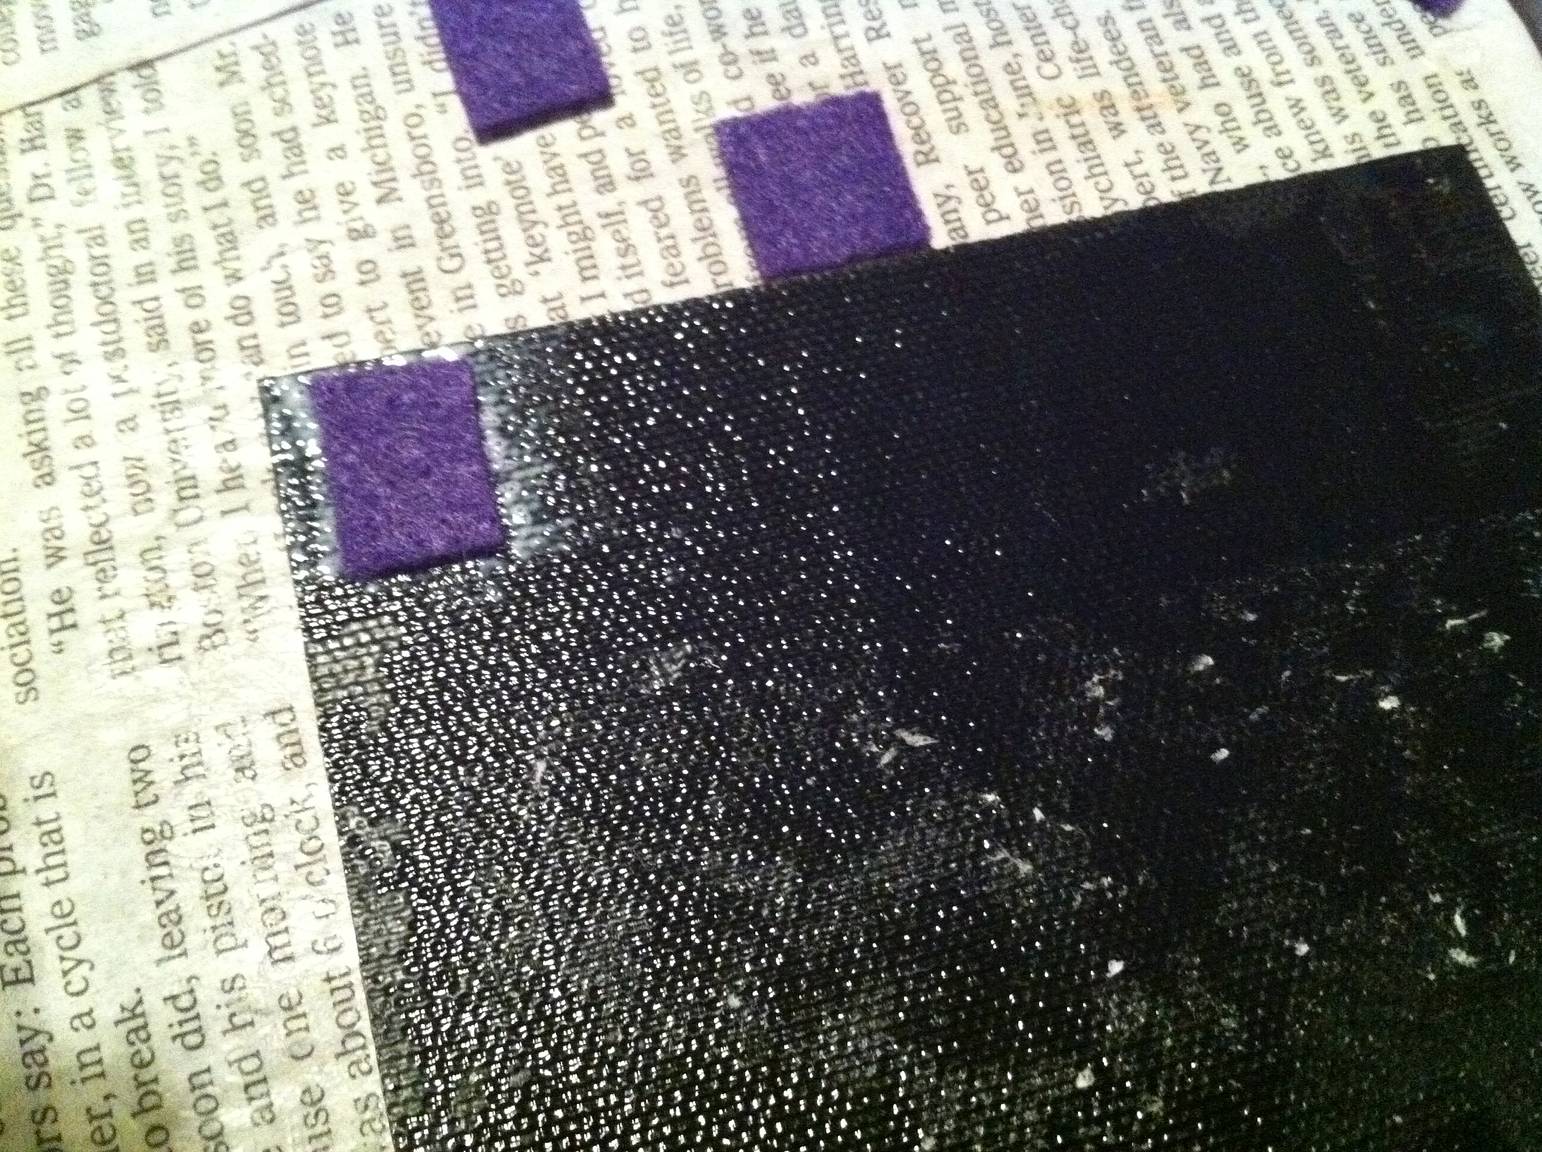

5. Once it’s nice and dry, flip it upside down and add the felt/cork/foam to each corner. I used Mod Podge to glue felt to the bottom of each coaster, but tacky glue also works if you don’t have self-adhesive felt/cork/foam. Let it dry, if necessary.


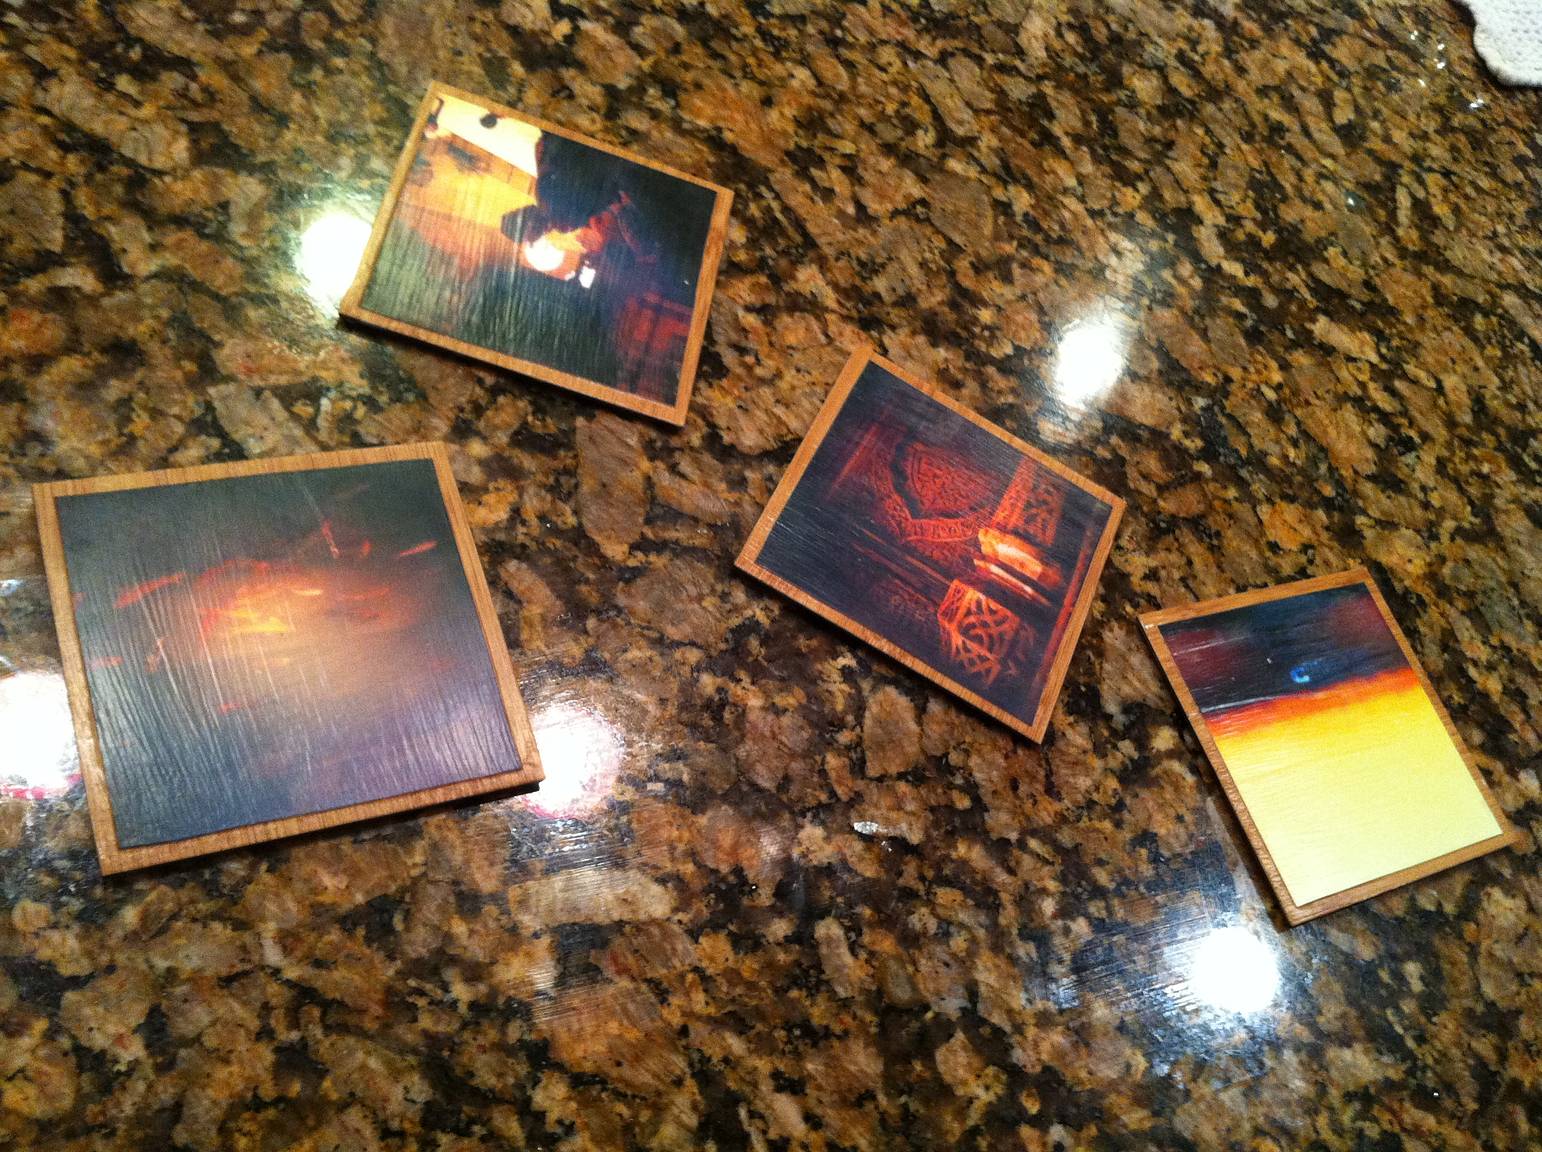

That’s it! If they’re a present, just wrap ‘em up! I waited a day until I started using them, but they’ve been quite useful and a great conversation starter! The best part is that when they aren’t in coaster use, they’re always showing off your photos.
written by lislisdotnet on 2012-01-03 #gear #tutorials #drinks #diy #coaster #tipster #decoration #gift #prints #hand-craft #mod-podge #top-tipster-techniques


5 Comments