Fix, Dry and Destroy – Film Soup After Developing
1 9Testing the limits of films is a Lomography prerogative. For this tipster article we have yet another endurance test for our negatives. As a general rule, once negatives are fixed, it is not common to do conventional film soups. But, as we all know, depending on which ingredient you submerge your negatives in, there is a good chance that something can happen at any stage.
The kind of liquids used for this afterthought soup were everyday chemicals. We purposefully worked on them after the negative was developed, so to be able to see any kind of mutation on the images, we had to choose non-organic ingredients. All of these ingredients should be available in any household.
What You'll Need
- Dishwasher powder
- Nail Polish remover
- Scouring milk cleaning agent
- Warm water
For our first bath, we used dishwasher powder and let it dissolve in warm water. We intentionally did not dissolve the powder fully. Ruining the negatives was not a concern for us. Scratches were intentionally created to produce a certain level of destruction. Let it float and observe the water changing color. Remove your frames when the desired effect is completed.
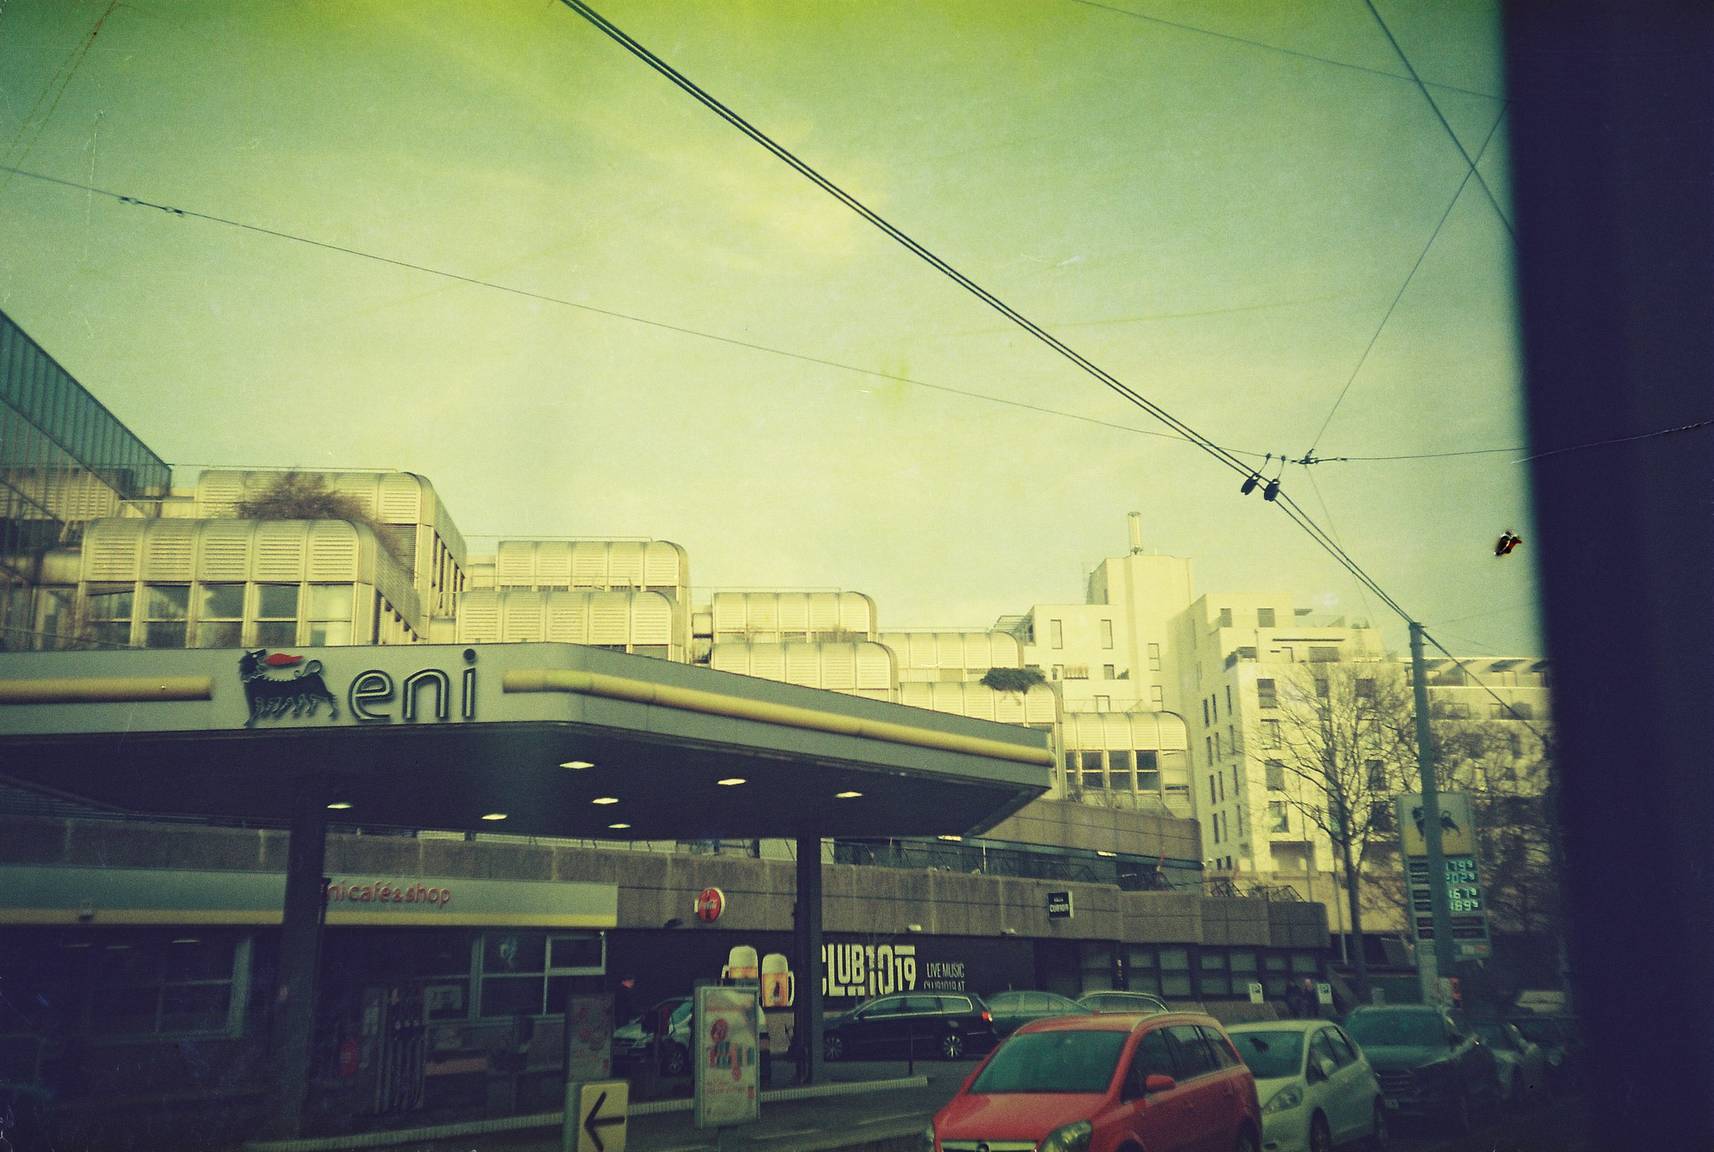
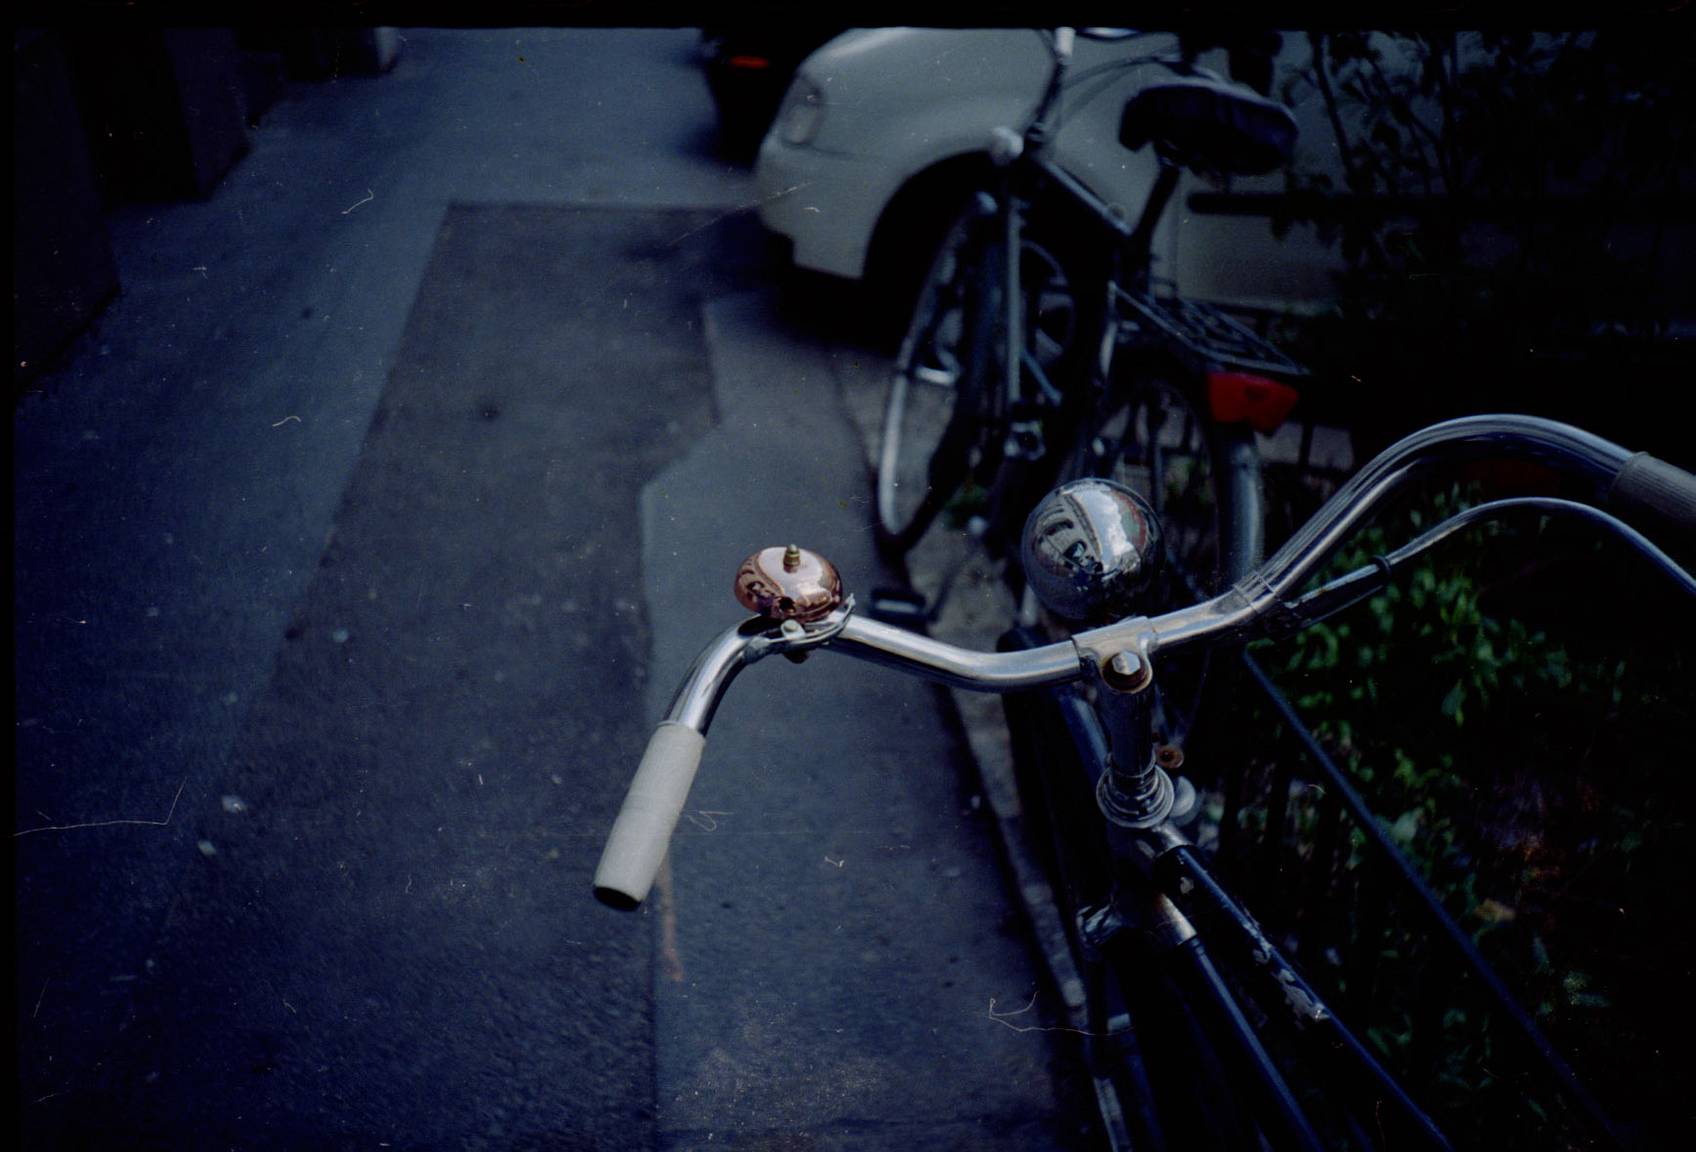
The second substance used was nail polish remover. At first, we were surprised to notice a slow and minor mutation on the negative. The color shift is subtle without spiraling toward any specific hue. While with the dishwasher powder, we could see a clear yellow toning, the nail polish remover was less stained and it simply darkened the images.
These results might have something to do with which layer is more sensitive to certain substances than others. We can't say for sure why those liquids had caused this specific color shift to occur.
With both liquids we kept a short time of contact. When working with destructive techniques it is always up to you how much and for how long your photo should be under distress. It is well-documented that different times will result in different patterns. Regarding the nail polish remover, the main reason for keeping a shorter time is that this substance is toxic when inhaled. It is for your own good that we recommend you limit the time as much as possible. And have a window open nearby while working.
Another substance that surprised us with its results was scouring milk cleaning agent. Perhaps the specific product we used, since it is environmentally friendly and biodegradable, was not as toxic as other products. Its formula has a mild concentration of bleach, thus only affecting our images slightly. It is good for the environment (and we are happy about that!) but may not be suited for this kind of alteration.
A pleasant surprise was to realize that all of these products were reasonably mild agents, therefore, did not completely destroy our images. They simply executed some interesting color shifts. A fine discovery to keep in mind for future reference when working with these substances.
Taking notes of chemical reactions is a good practice. It is important to know which products are more aggressive and which give you more room to work with; that may be due to the time required for the chemical to act on your negative, or intensity in alterations achieved. All of these factors will contribute to the final result.
We'd love to see some of your negative manipulations. Share your experiments with the community and let us know your favorite technique in the comments below.
written by eparrino on 2023-04-04 #tutorials #videos #analogue #experimental #filter #color-shift #destruction #film-soup #tinting #after-development


One Comment