Film Destroying Tips: Ammonia film soup with home development
9 25 Share TweetYou probably know film soup. Do you want to see what happens when you splash ammonia on the film before you develop it?
I’ve been fascinated by film soup since I discovered it, but I didn’t try at first because I was afraid of the drying part. I didn’t want to send wet, sticky or damaged film to my lab. When I started to develop them by myself, I knew it was time to try!
I chose ammonia as my chemical weapon mostly because I had it at home, and because I didn’t see anybody else doing it.


To do it yourself in the same way, you will need:
- Ammonia (I used household ammonia with concentration inferior to 3%. It cost less than 0.50€ at the supermarket)
- Exposed film (I used a Lomography CN 400)
- Development equipment (developing tank and reels, chemicals, etc.)
- Totally dark room (you won’t have enough space in a changing bag)


For my first film soup I got inspired by the work of hodachrome, and especially this tipster. Instead of pouring the film canister in the “soup”, hodachrome pulled out the film in the dark to “dab” this soup on it, and create some wonderful stained patterns.
Here is how I did it step by step:
1) Take pictures.
It’s all up to you! However, I noticed that the film soup effect is more accentuated in the dark areas (See the end of this tipster).
2) Prepare the material.
The next step will be done in the dark, so you should be quite organized. Once in the dark, you will pull out the film, so you will want it to keep it straight. To do so I taped the free extremity of the film to the ground, and prepared another piece of tape on the canister, ready to stick it to the ground.
Emulsion side (the matte one) should face up! You should also prepare gloves (ammonia is corrosive!) and a container with your liquid (large enough to pour your protected fingers inside.)


3) Pull the film out. To be done in the dark!
Just pull out the film that you taped on the floor, then tape the canister to keep it in place.

4) Splash the ammonia. To be done in the dark!
Use your fingers to “splash/dab” some drops on your film, just like in hodachrome's tipster.
I recommend that you give it a try before, to find the right strength, distance and quantity. The drops you create directly influence the results! Then wait for 2-3 minutes.
5) Roll it up. To be done in the dark!
Roll the prepared film on the developing reel, just like to develop a normal roll. I just paid attention to touch the film as few times as possible, to avoid spreading the ammonia. Once you have inserted the reel in the developing tank, you can finally turn the lights on.
6) Heat up.
To activate the chemical reaction, I simply poured some hot tap water in the developing tank and waited about 20mn.
7) Development
For all information you need about C-41 development, I recommend these 2 great tipsters:
- A Beginner’s Guide to C-41 Developing at Home (It’s a Lot Easier Than you Think!): Part 1 and Part 2 by @blueskyandhardrock
- Tutorial: Rollei C41 Digibase – Color Film Development by @sandravo
8) Results
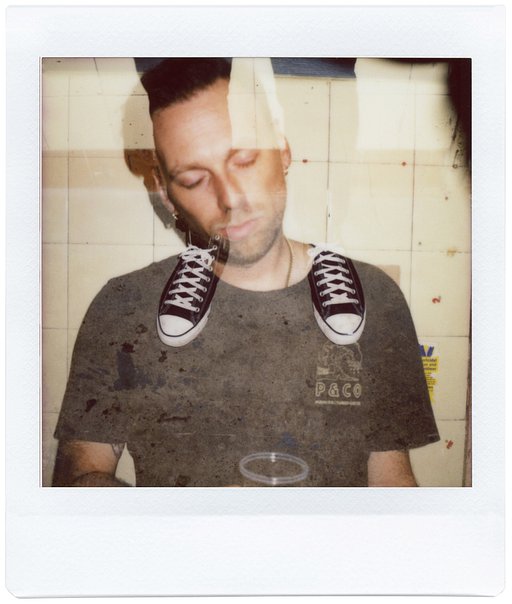
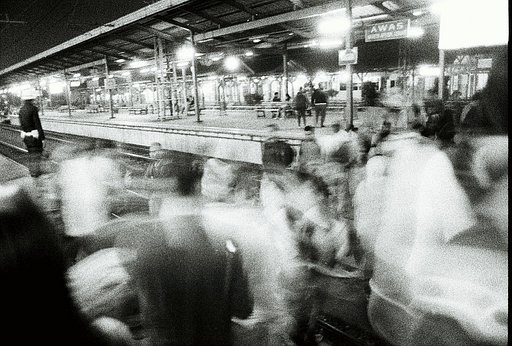
The ammonia created some stains where it has been splashed. They are mainly pink/purple, with a yellow/green outline. On bigger stains, the center also tends toward yellow.
The stains contrast seem to be more accentuated in the dark areas. It’s really clear if you look at the limit between the two pictures taken in Venice: The same stain is purple on the left and yellow on the right!


Have you ever done a film soup this way? Let us see how it looks like with other ingredients or other films!
written by aguillem on 2014-05-19 #gear #tutorials #spot #lab-rat #tipster #development #dark-room #destroy #stain #chemical #sprocket-rocket #ammonia #film-soup


9 Comments