How to make 3D Stereographic Images
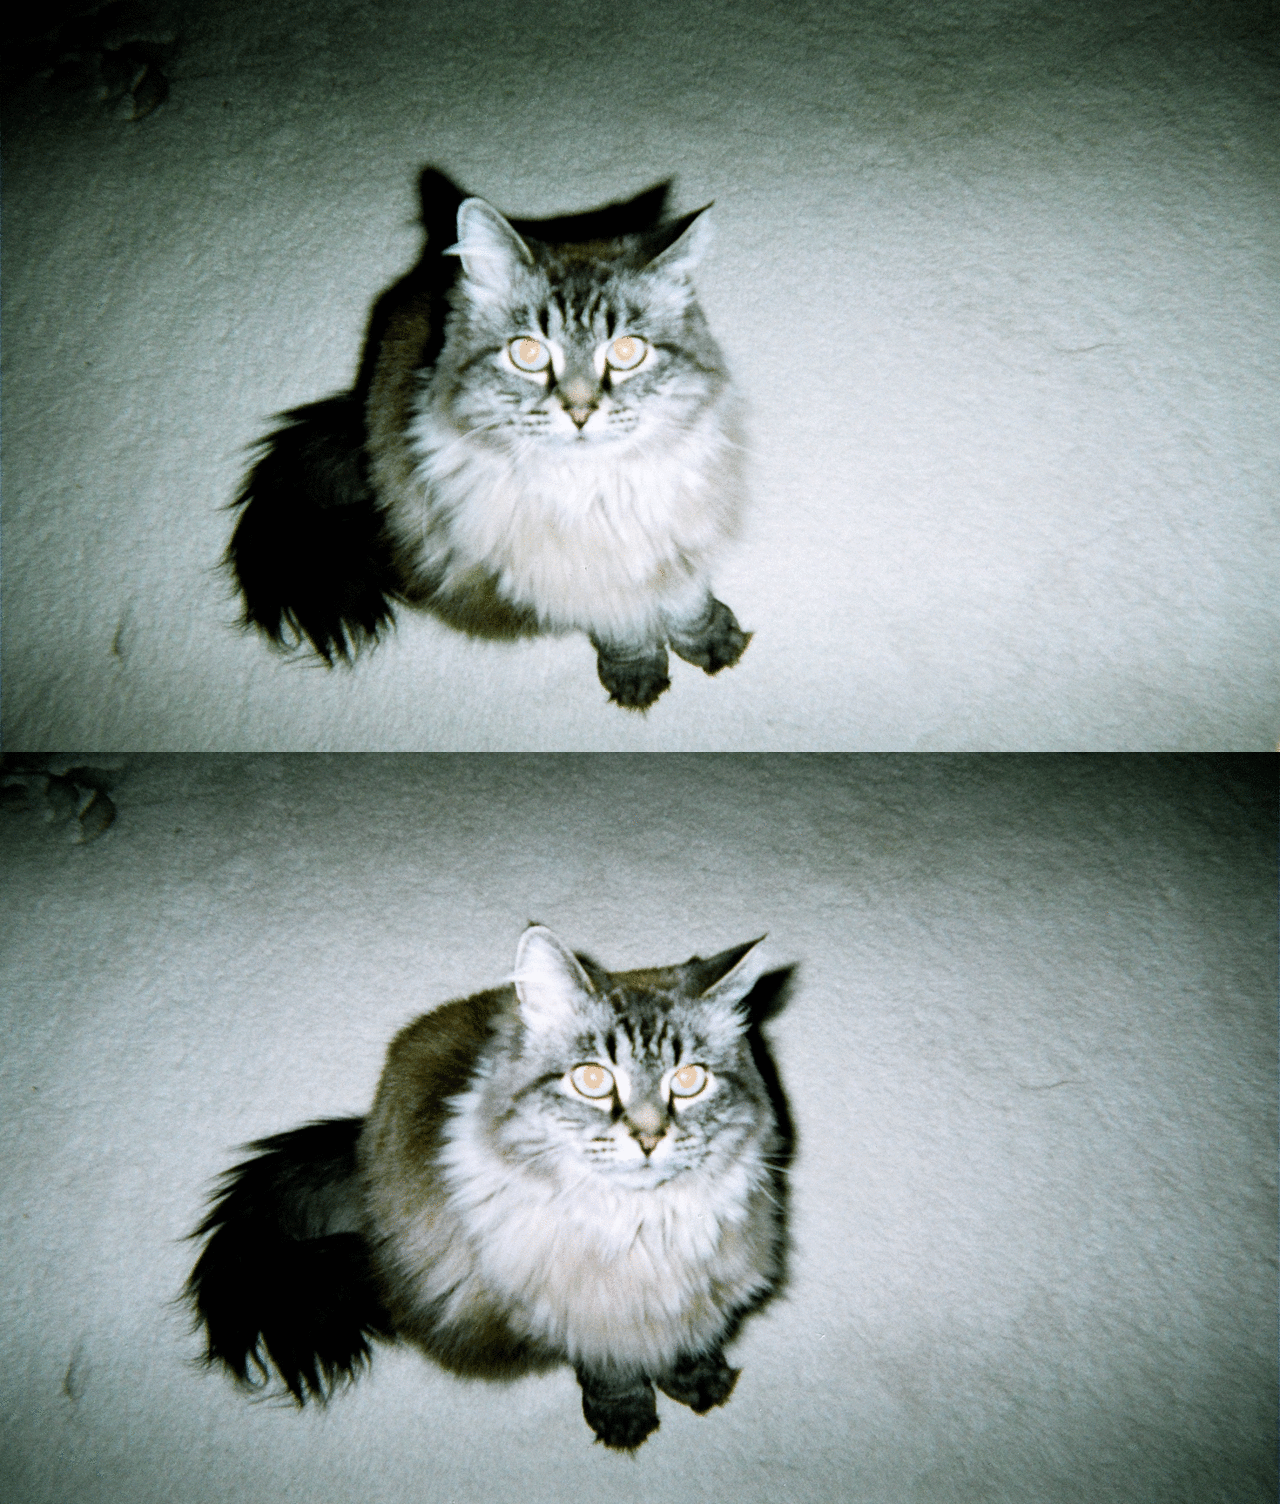
1 17 Share TweetI made 3D stereographic images using 2 disposable cameras and duct tape. Once shot, I easily made them into a moving image using photoshop. Originally for a class presentation.

Last year while I was in my second year of Photography, we had to give two class presentations about anything relating to photography (could be digital, film, photoshop techniques, etc.)
I chose to demonstrate to the class how I made my very own stereographic images using two disposable cameras (you could also use any other two cameras!) and some duct tape, along with the help of photoshop.
To make a 3D camera, you will need 2 disposable cameras and some duct tape.
Step 1: With both cameras side by side, turn one of the cameras upside down. This is to make sure you get the 2 lenses as close together as possible. Line up the cameras so that the lenses are on the same level (most lenses aren’t located exactly in the center of the camera).
Step 2: Tape the cameras together with duct tape. (Make sure not to cover up the shutter buttons or winding mechanism.
Step 3: Go out and shoot! But make sure you press both of the shutter buttons at the same time.
Extra tips:
- Have fun and accept that results won’t be perfect!
- Remember that the cameras won’t focus closer than about 3 feet.
- Having subjects in both the foreground and background will show more of the 3D effect.
Step 4: Once you’ve shot and developed both rolls of film, scan your images onto your computer.
Step 5: In photoshop, select the first image from one of your stereographs – copy and paste it into a new file.
Select the second image from that stereograph, then copy and paste it into the same file. You will now have 2 layers.
Step 6: Open the “Animation window” – you can find it when you click Window, then select Animation from the drop down menu. There will be one frame by default. Make a second frame by clicking on the “page” icon located at the bottom of the animation toolbar.
Step 7: Click on the second frame. Turn off the top layer by clicking the “eye” icon. Now the frames should show one image in the first frame, and the other image in the second frame.
Step 8: Select the interval (movement speed) by clicking on the frame where it says “0 Sec”. Change the interval to “0.1 Seconds” (or however fast you would like your stereograph to be). Do this for both frames.
Step 9: Click on the “play” icon to see how your animation looks! If it’s “wiggling” too quickly, change the speed to 0.2 or 0.3 .
Step 10: When you like what you see, save it for web. Click on “File”, then “Save for Web” as a GIF file.

I had to say I surprised myself with the results – it was a lot of fun to see your images in action!
I’ve found Mr. Gif's tumblr to be quite inspiring for 3D images as well.
Gabrielle Gallant (GabGallant)
P.S. You can see a few of my own in action in my tumblr!
Diposable Kodak cameras picture from Google
written by gabgallant on 2013-05-17 #gear #tutorials #art #project #presentation #tipster #moving #3d #images #stereography #wiggle






One Comment