Scan it Your Way
11 21 Share TweetTo those who cannot afford to buy a flatbed scanner with a film mask to scan films, try this, a cheap film scanner for all. It is easy to try and harmless to do. Just follow these few steps to scan your films and get your negative digitalized. Others might have wrote about this too, but this is how i’m scanning my films. Different people come out with different ways!

What you need to get your film digitalized is :
1. An empty box (preferably small)
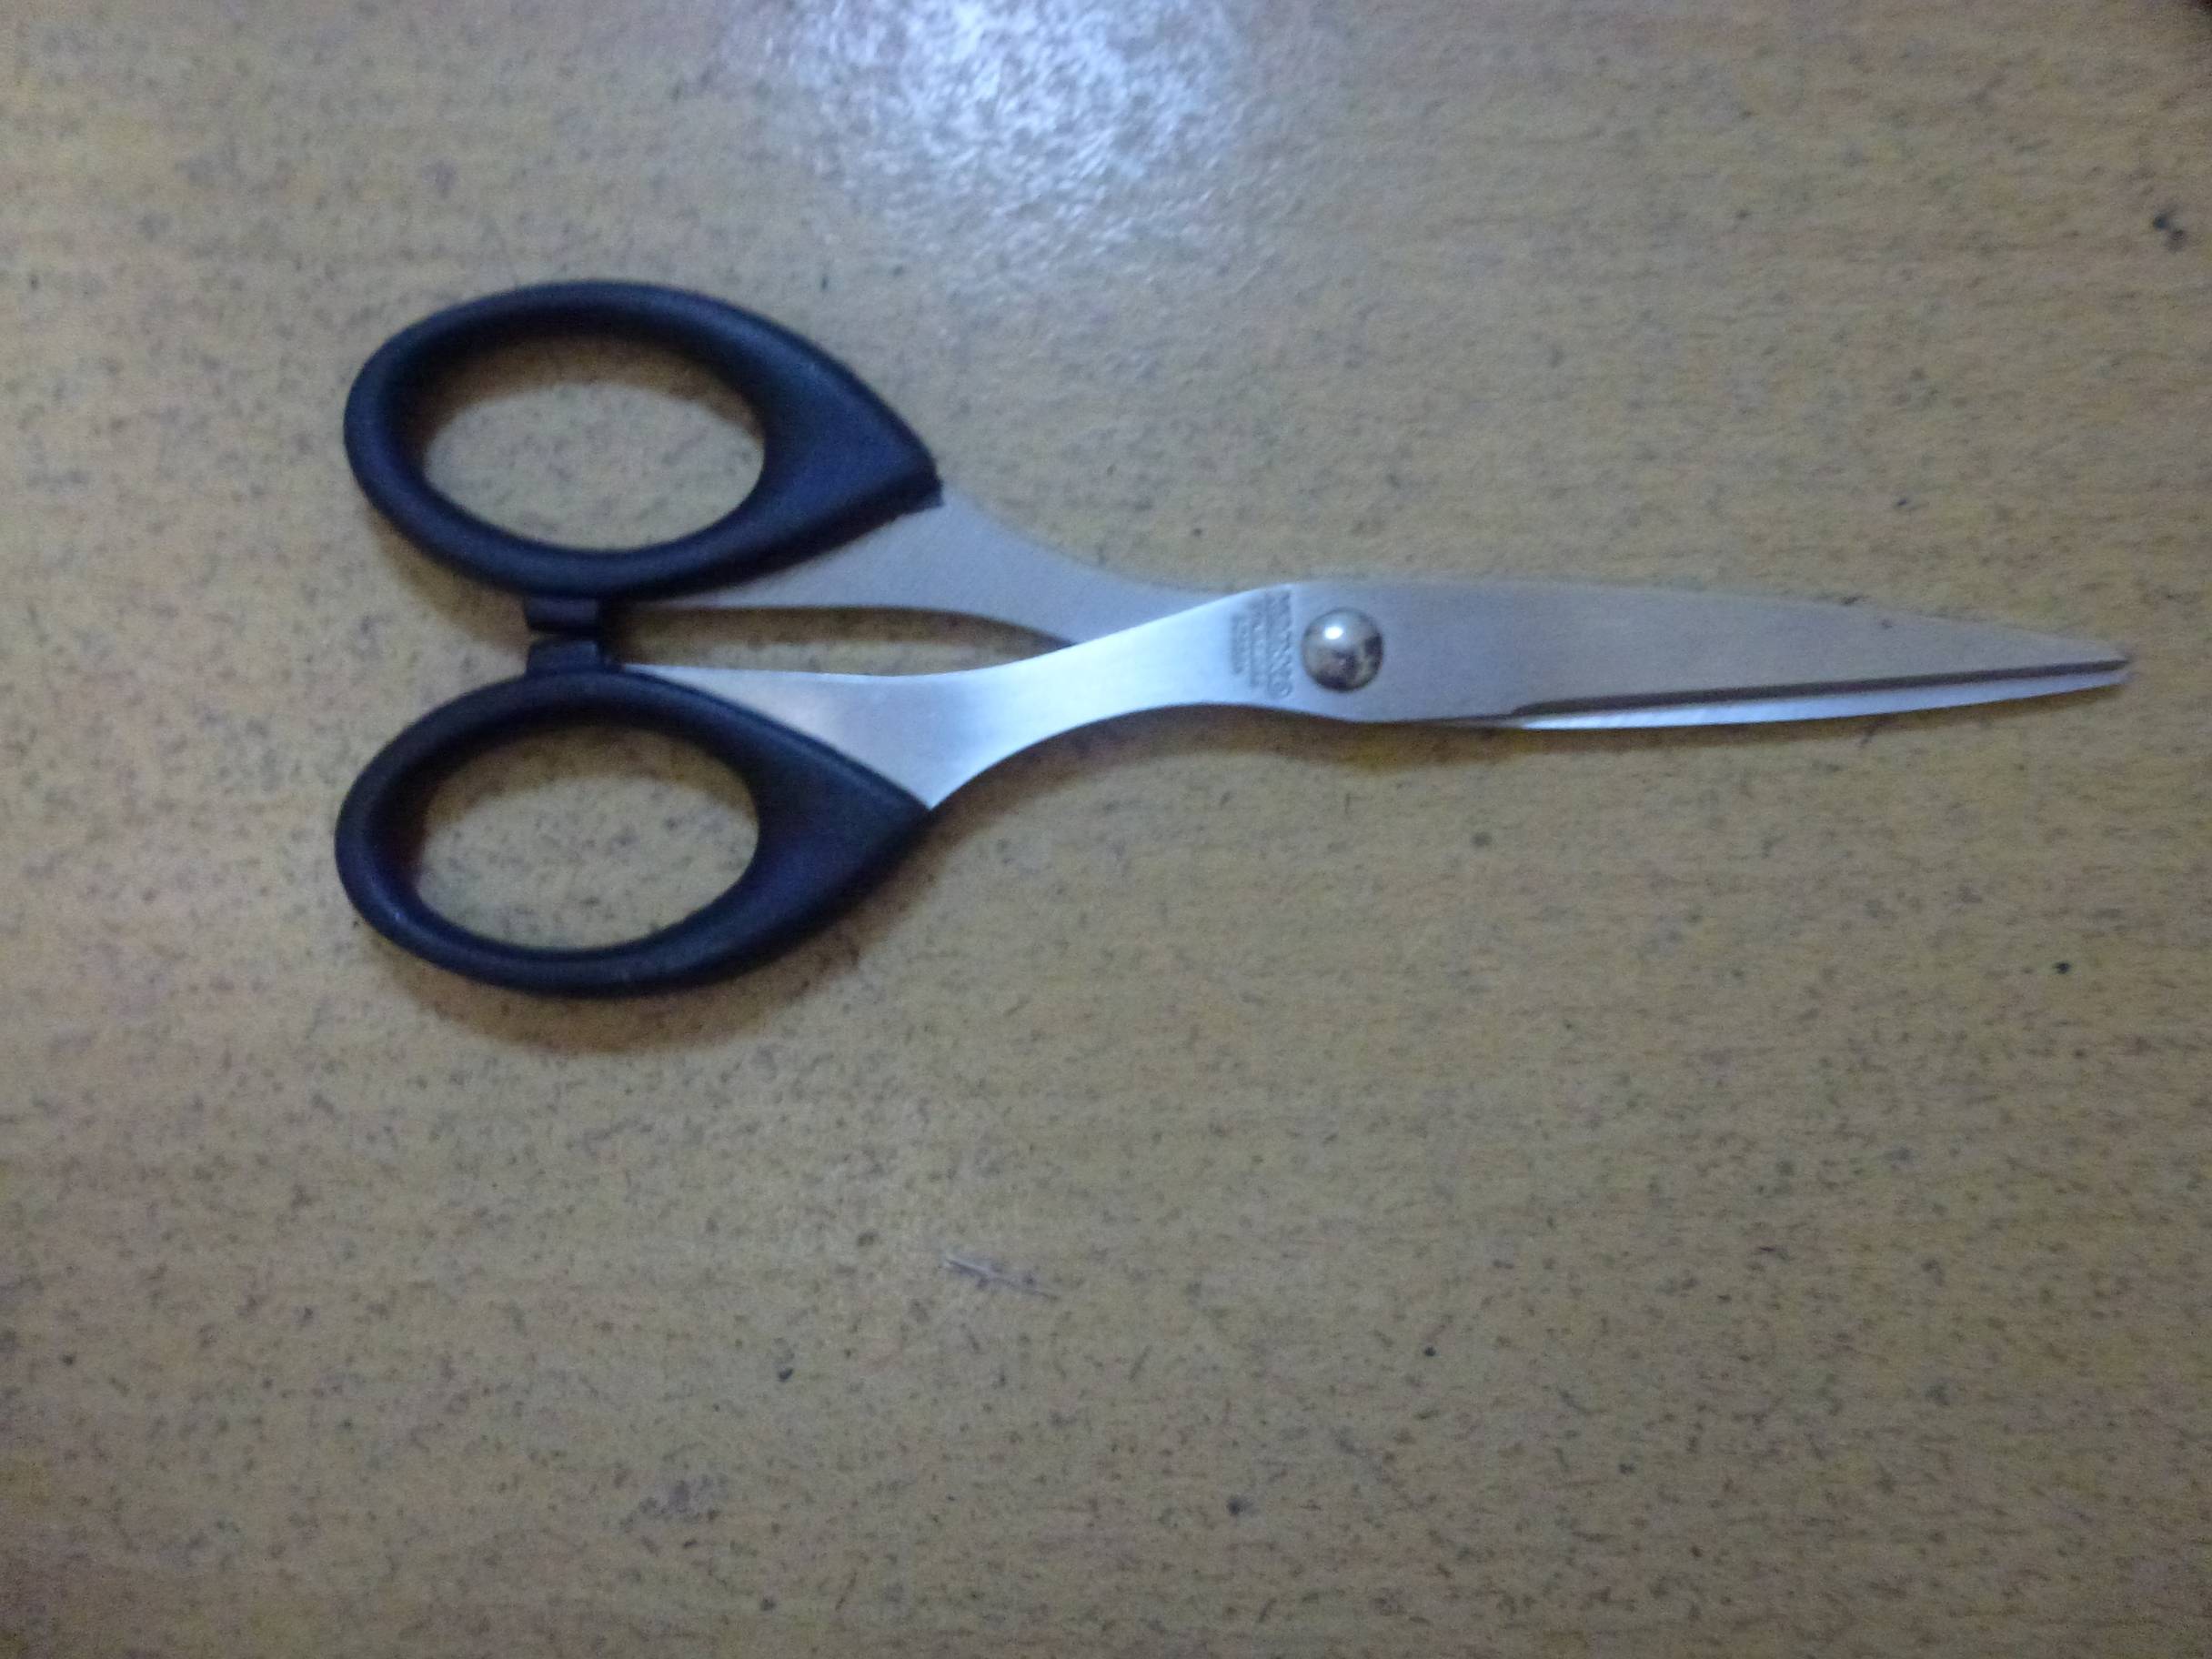
2. A pair of scissors

3. A study lamp wrapped with white paper or laptop screen

4. A digital camera (compact / dslr )
What you need to do is :
1. Cut out a small part of the box. You have to cut it at the front and at back-in my case, i used a battery box and i cut exactly according to the frame size of 35mm film. If you would like to scan 120mm film, you will need a bigger box and cut it according to the frame size of 120mm film.

2. If you see the photo above in detail, you’ll see there are two slits, on the right and left side of the cut out part. Film is inserted through the slit so that it won’t move during ‘scanning’ process.
3. After you inserted the film in between the two slits, put the box with the film on the study lamp with white paper or just put it at your laptop screen. If you are using your laptop, you have to open microsoft word or notes to get white background.
4. When everything is in position, use your camera to take several shots of the part to be ‘scanned’. You’ll need to shoot a few times with different distance and focussing to get your best shot.

5. Then, we come to post process. When you shoot negative film, you have to invert the colour. So, open up your photo editor. I’m using adobe photoshop. To those who use adobe photoshop, go to image>adjustments>invert. You’ll see the colour being inverted. You can adjust the colour by opening curve int the adjustments tab.

6. Lastly, save your newly ‘scanned’ photos and upload it to your lomohome!!
Have fun trying it!!
written by haziqhashim on 2012-08-07 #gear #tutorials #diy #malaysia #scanning #tipster #select-type-of-tipster #select-what-this-tipster-is-about #self-scan


11 Comments