Make a Film Mask with Film
8 12 Share TweetWhen I go to my local photography shop and get my film developed, I always say to never cut my film once it has been processed. I like to have control over this as I scan my photos myself at home. You never can guarantee that they will cut them in the correct place, especially when using cameras like the Sprocket Rocket or Spinner 360 due to the larger frame exposures.
Developed 35 mm films that were uncut were left with the section that was used to load your film before closing the back of the camera. This is pretty much useless and I end up throwing them away until I came up with this idea to use these strips to make a two-stage film mask. Here's how you make one for the Sprocket Rocket.

Materials
- A Sprocket Rocket
- Some unwanted strips of developed 35 mm Film
- Black electrical tape
- Ruler
- Scalpel/box cutter
- Cutting Board

Instructions
First of all, you need to measure the section you will be masking off on your camera. The great thing about using 35 mm film is that it is already the correct height and fits perfectly in the camera frame, all we need is the width cutting to size. On a Sprocket Rocket, this is 7.6 cm. Cut two strips of 35 mm film to this width that are identical to the other in relation to the sprocket holes on the film (this will help with the overall effect).

On each of these strips of film cover of one side neatly using the black electrical tape. Try not to overlap the tape as the masks have to stay as thin and flat as possible.
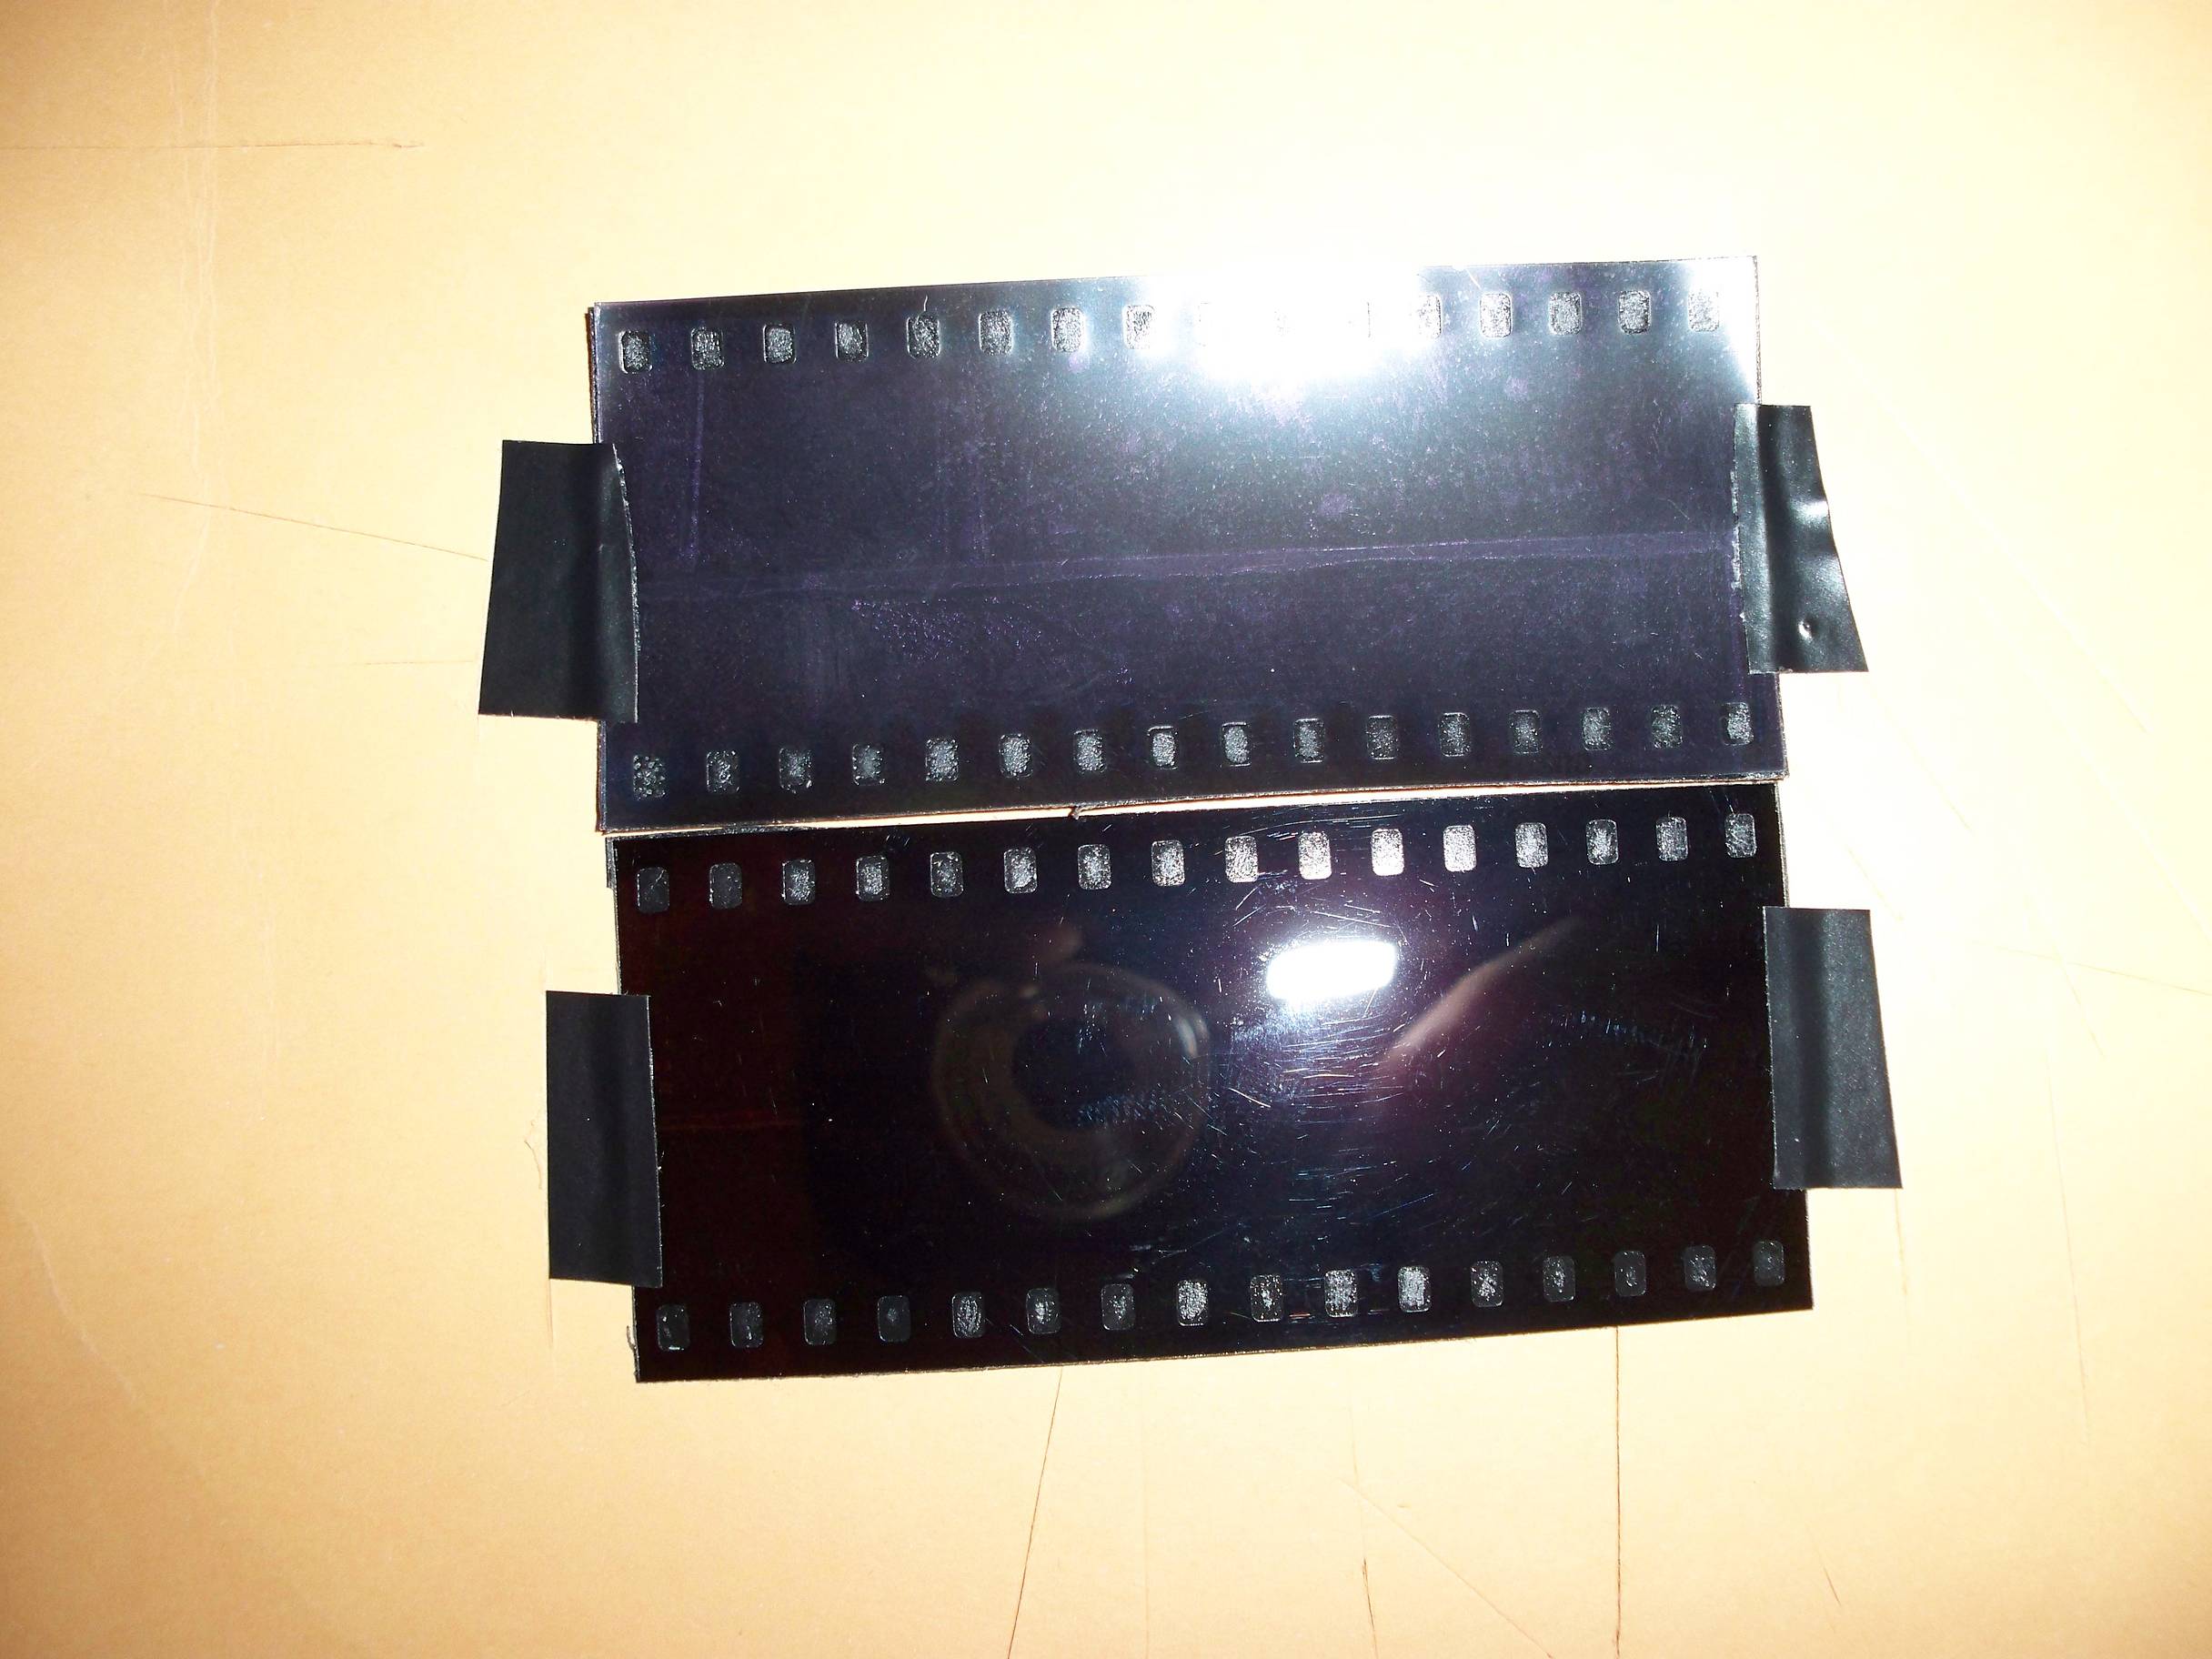
Once completed, turn the film over so you can see the sprocket holes of the film again. Gently secure using a bit of tape to your cutting board. It is important that when you secure them to your board, make sure that they are straight and close together with the sprocket holes lined up level with the other film strip (as shown in the picture above).
Now for the trickiest bit ...
When you have secured both sections to your cutting board, we need to start cutting the exposing parts of the mask. On the top film strip, using your scalpel and ruler cut straight from one edge of the top sprocket hole to the same edge on the bottom sprocket hole of that film strip. Repeat on the other edge of that sprocket hole to create a small slit in the length of the film. Continue this until all the areas where the sprocket holes were have been cut out. (see picture below for reference). Make sure that the cuts are as neat as possible.
NOTE: Please be careful when cutting your film strips as they can be tough. It is best to not try and cut all the way through when using your scalpel. Be patient and take your time as this does take a while.

On the second film strip, we need to strengthen it by neatly covering the top side with electrical tape so that both sides of the strip have tape on them (see picture above). This is because this second masks will be more fragile than the previous one to cut out. To cut the slits in this section we cut the opposite to the other mask by cutting out the section in between the sprocket holes. The reason for securing both strips together is to ensure you cut exactly the opposite to the previous mask so you end up with a positive and negative mask (see picture below).

NOTE: The neater you are with your cuts the better result you will get when using both masks. Scanners will also pick up roughly cut edges once you have had the film developed using your masks.
Remove both strips from the cutting board and overlap them to see if you have one mask covering the slits of the other. Make adjustments where necessary. Mark on both which side faces up to make sure that they are fixed to the camera the right way up.

Now all you have to do is take one mask and stick to your camera frame with some tape (see picture above) and load your film. It is important when loading your film that you make a note of which sprocket hole you attached your film to the winding spindle and note how many turns you had to wind the film to get to your first shot of the film. Write this information down so you load the film exactly the same for the second film mask.
NOTE: The mask with electrical tape on both sides will make the loaded film more difficult to wind up than normal so take care. Stop winding if you are not confident with your mask.
Once you have completed the film for the first time rewind your film to remove it as usual without losing the end of the film into the canister. Take out the first film mask and place in the other in exactly the same place. Reload the same film in the same way and shoot away again. Once finished, unload the film and go get it developed. See what crazy pictures you come up with!
Here are some of my first attempts with a basic 200 speed film:


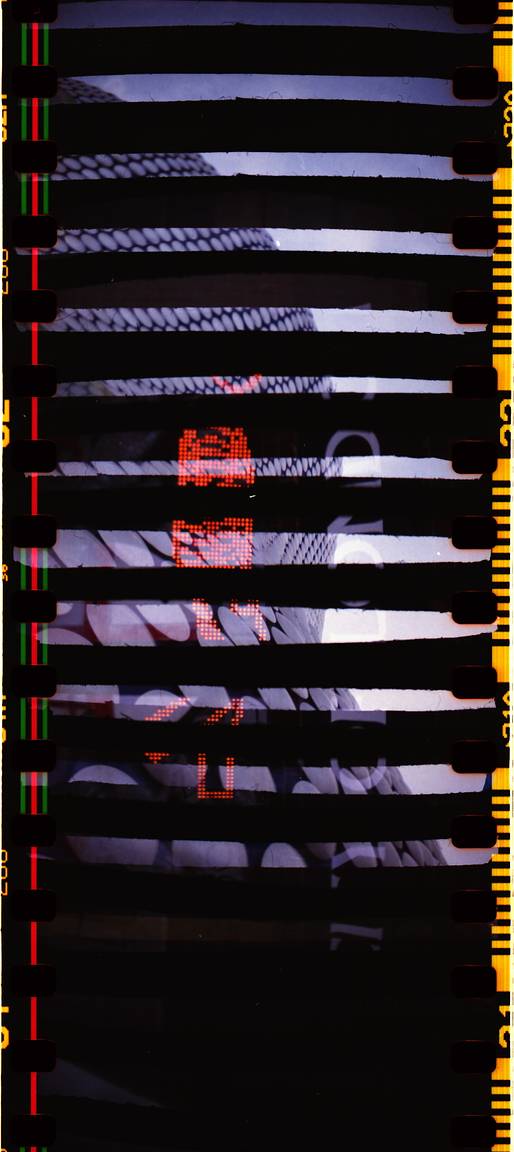


It is a good idea to experiment with a cheap film first, so you know your exposure times and whether you have lined up your film correctly to expose the right area for the 2nd film mask. The next time I use the masks I will load my camera with 400 or 800 speed film so you get better defining colours in a variety of lighting situations and be more careful with winding my film so that it lines up better. Underexposed shots can look like you have only used one mask. It doesn't necessarily mean that you will end up with a bad result. But that's what Lomography is about — experimenting!
This tipster can be used for any kind of 35 mm cameras. I am going to make one for my Diana 35 mm back. The benefit with the Sprocket Rocket, however, is being able to rewind whenever you like.
I think this can also become another extension to the film swap idea where not only do you swap films but you also send the other half of a film mask you have created. I have also thought that making a note of what you take can be interesting. I like the idea where you could take a picture of a city landscape the first time and the countryside using the second mask on the same shot. Oh, and not to mention taking the second shot upside down! The possibilities are endless, so go out and Lomo on. I hope you enjoyed this tipster!
The Sprocket Rocket is the first wide-angle camera dedicated entirely to sprockets. And with dual winding knobs for easy multiple exposures, there is no limit to your analogue creativity with this panoramic wonder. See the Sprocket Rocket in our online shop or one of our worldwide gallery stores.
written by martinc87 on 2012-03-12 #gear #tutorials #film #multiple-exposure #masks #tipster #film-swaps #sprocket-rocket


8 Comments