Tutorial: How to Repair your Fisheye 2
7 18 Share TweetAre you in love with your Fisheye but it’s no longer working and the guarantee is expired? I was in that hopeless situation, but I was in luck because my dad is better than McGyver. We dismantled it to find the problem and to repair it. In our case the wind on wheel was blocked for a broken piece into the wheel. If it is your problem follow this guide. If you have other problems perhaps this article could be interesting for learn how disassemble your Fisheye 2 and how find the problem.
More than 2 years ago I started in Lomography with a Fisheye 2 camera, because 3 years ago the beginners used to start with the Holga or the Fisheye cameras, the Diana F+ was introduced in that dates and its accessories were introduced after I bought my camera. I chose the Fisheye 2 because I thought that it was funnier and easier to use than other cameras. Since that days I haven’t stopped to play with it till one day, rewinding the film, I felt a jam into my camera, that it was blocked the wind on wheel.
After to I tried to force it (you can see marks on the plastic) the wheel spitted out some film pieces, although it is till seized up. Anyway I needed to dismantle the camera, so we start!
If you aren’t a DIY fan, you should trust in your personal McGyver, in my case I bet for my dad, he has the required skills and tools. He is one of that guys who enjoy disassembling things, he was able to fix washer machines, dishwashers, electric circuits and an engine from the classic 1989 Spanish car Seat Ibiza!
You will need:

- Your broken Fisheye 2 and good light
- Tweezers
- A small screw driver
- A bowl or anything you can put small screws and springs into with out loosing them
Are you ready?
First step: Remove the internal flash battery. Take off the external flash metallic sheet, in my case it was easy because the sheet was unstucked, perhaps you will need to unstuck the sheet. Behind you will find the main metallic piece joined with the camera by three screws, remove it! At the end you will find a little wire for electrical connection with the external flash.


Second step: Open the back cover and take off the rewind piece and after it remove this four screws:

Third step: Lever with the screwdriver in the four corners for take off all the back piece. Be careful in this step.


This is the piece with all mechanisms, save the lens piece.


It is possible that in this step some pieces like the back lid, the internal flash switch or the battery lid fall out. Don’t worry, it will be easy to put this pieces in their places after the fix.
Fourth step: Unscrew the photo counter wheel. This piece is joined with the cam with a spring, so be careful! Here you can see the piece dismantled:


Fifth step: In my case I needed to have access to the wind on wheel, for that it’s necessary remove the next screws and lift carefully the lid.


Sixth step: For take off the jammed wheel you should to remove the stick into the piece indicated at the picture. After it you should to take off that piece with the tweezers. You will need to force a little until take off the piece.

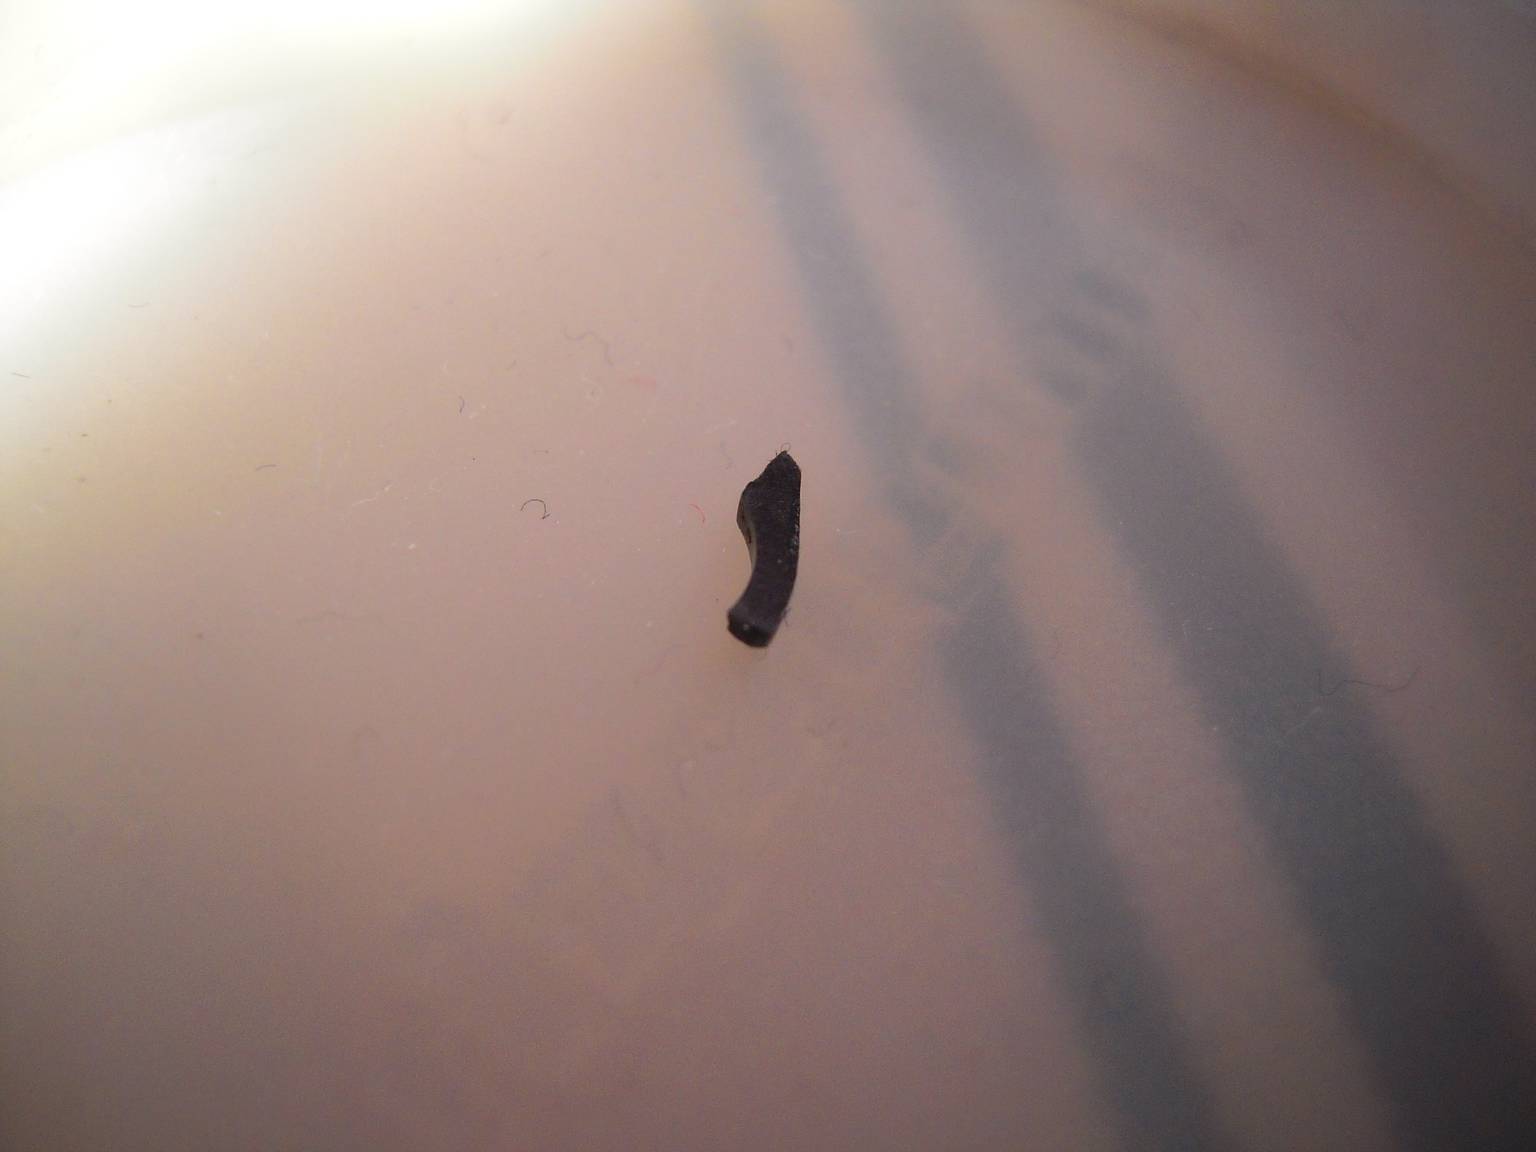
Seventh step: Take off the wheel with the tweezers, into the wheel you can see a piece with two arms. In my case one of that arms was broken and blocked the rotation of the piece. Remove the broken arm or change the piece for other unbroken piece from an old or broken camera. In my case I didn’t have other unbroken piece, so I removed the piece and the camera works without the broken arm. But now, I’m waiting for an unbroken piece from the Spanish Lomography Shop. They are great!

Eighth step: Assemble all the pieces carefully. Don’t forget to put in their places the back lid, the flash switch and the battery lid. While you are assembling the pieces you should to test and be sure that every piece is in its place and that the mechanisms works.
Put new film into your fixed Fisheye 2 and be careful with it, at the end your camera come to work.
written by alehopgm on 2011-02-25 #gear #tutorials #camera #tutorial #wheel #repair #tipster #fisheye #fix #advance #blocked #problems #repair-camera #repair-fisheye #how-repair #how-dismantle #repairing #fix-fisheye


7 Comments